Technical Support
Provider
Typically a physician, there are some non-physician roles added, this role has more limited access to the registry typically using their access to add and manage patients and their data.
Jump to section »
Abstractor
Non-provider and admin roles that have limited access based on the role needed per user.
Jump to section »
Videos
Informational videos and guides that will assist you in how to access the new ACHQC powered by OBERD.
Jump to section »
Provider
Login
STEP 1: Go to URL https://www.oberd.com/achqcc
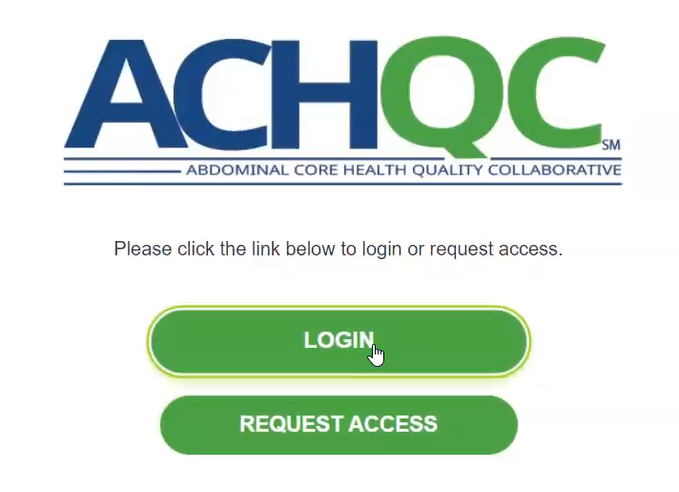
STEP 2: Click “Login”
STEP 3: Enter Username and Password into Prompted Boxes
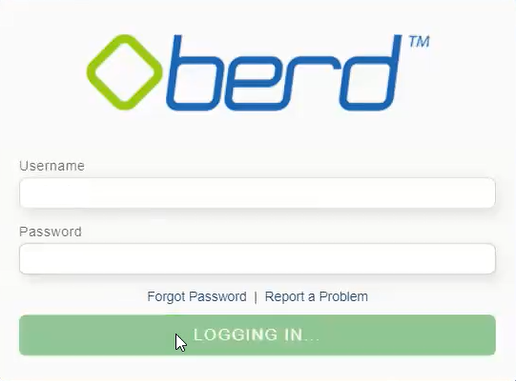
STEP 4: Click “Login”
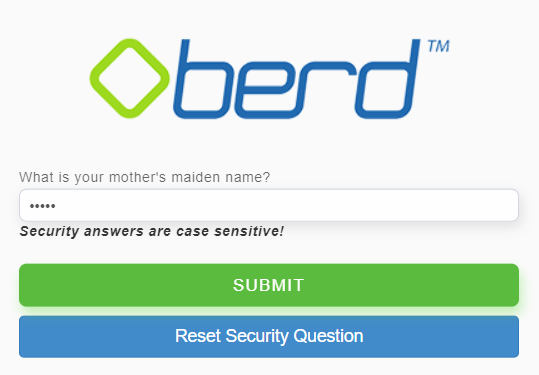
STEP 5: Enter Security Question Answer into Prompted Boxes
Provider
Password Reset
STEP 1: Enter Username and Password

STEP 2: Click “Login”
STEP 3: If login is incorrect a red error box will pop up and indicate so.
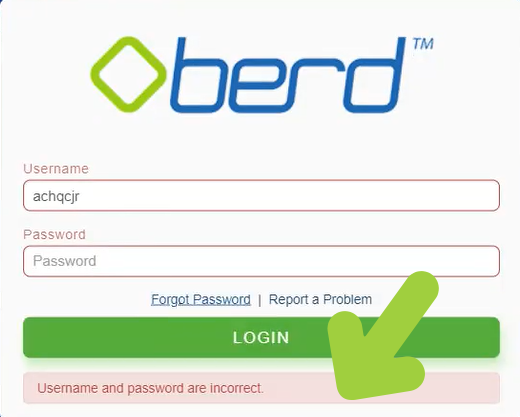
STEP 4: Click “Forgot Password”
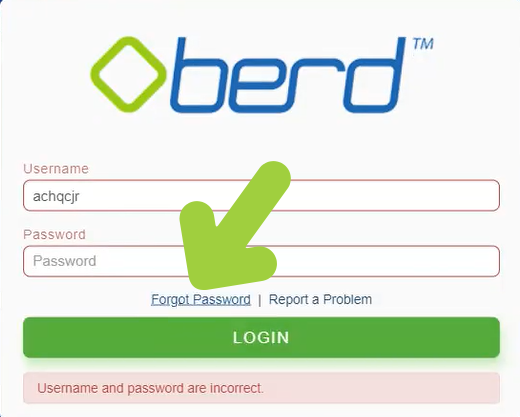
STEP 5: Enter Username and Email
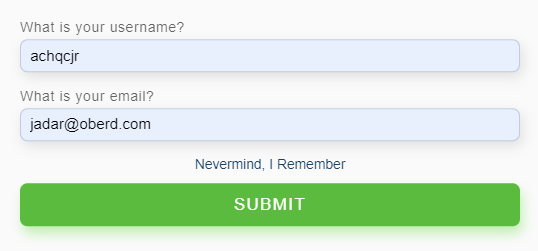
STEP 6: Click “Submit” to receive reset link
STEP 7: Use link in email to reset password.
Provider
Security Question Reset
STEP 1: If the answer is incorrect then a red error box will pop up to indicate it
STEP 2: Click “Reset Security Question”
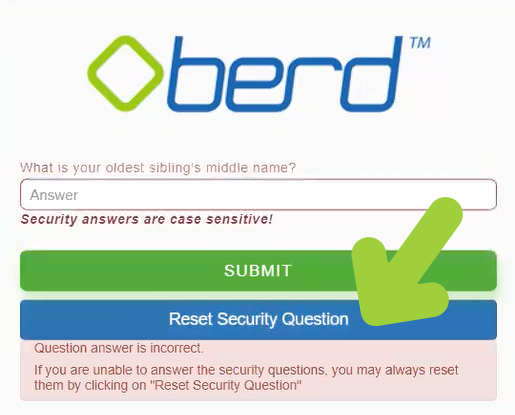
STEP 3: A question indicating if you are sure you want to reset your password will appear.
STEP 4: Click “Yes”

STEP 5: Click “OK”

STEP 6: A reset link will be sent to your email, use the link to reset security question.
Provider
Creating Patients
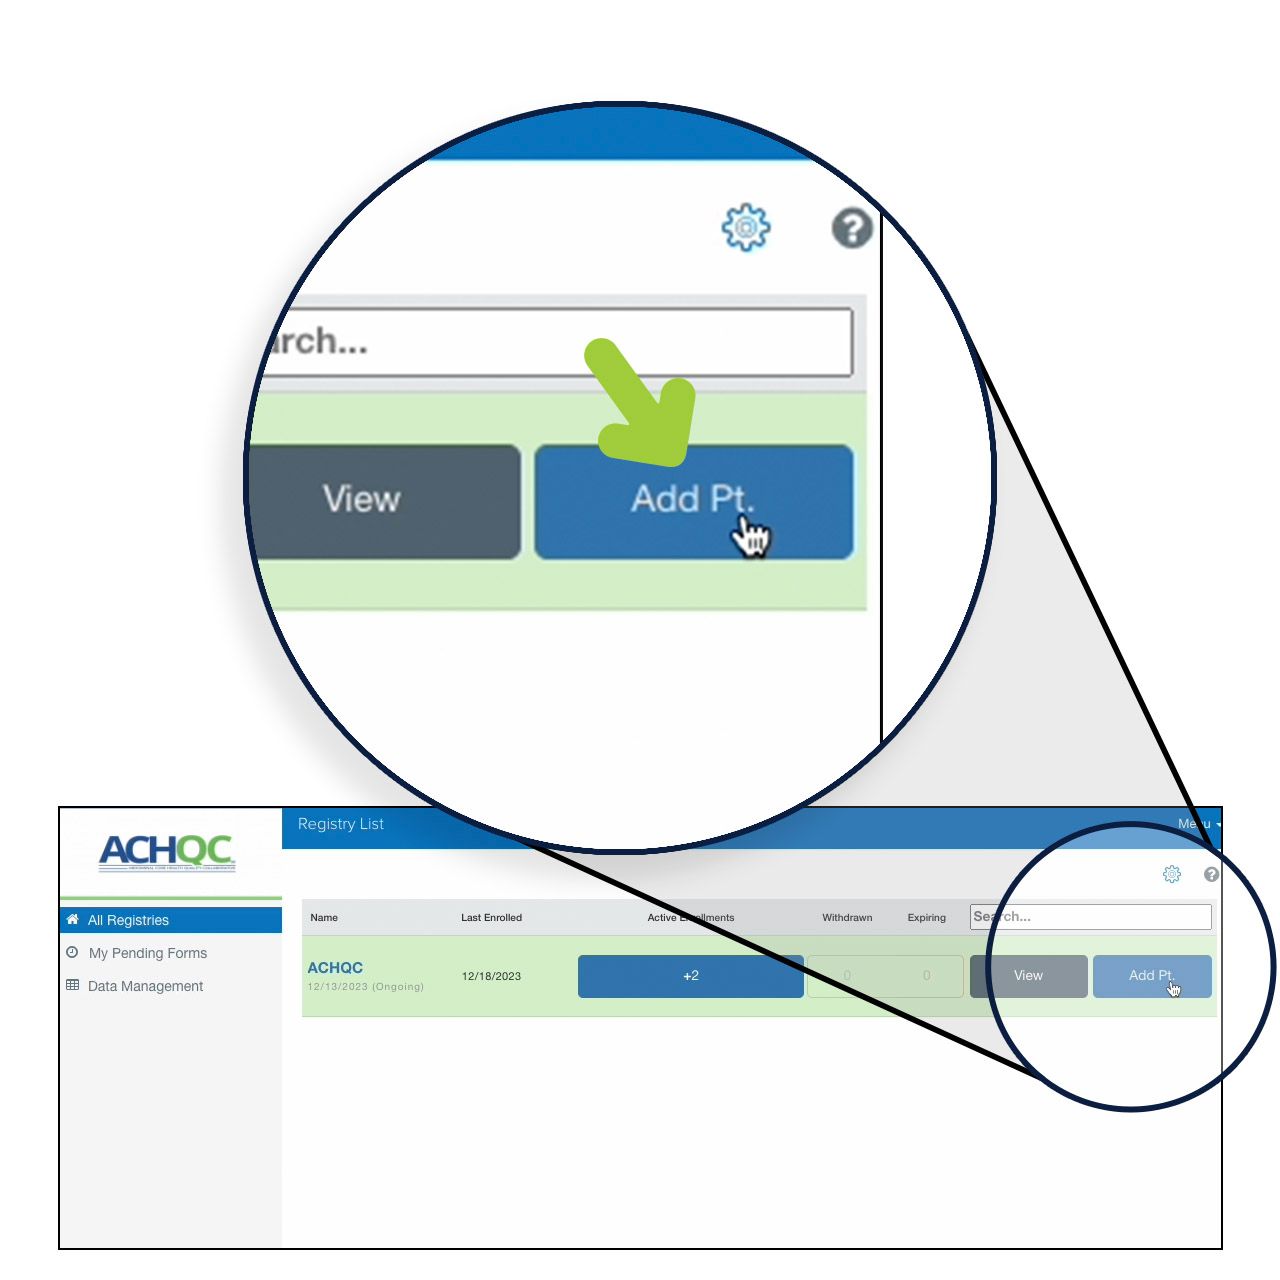
STEP 1: Click “Add Patient” in the top right corner
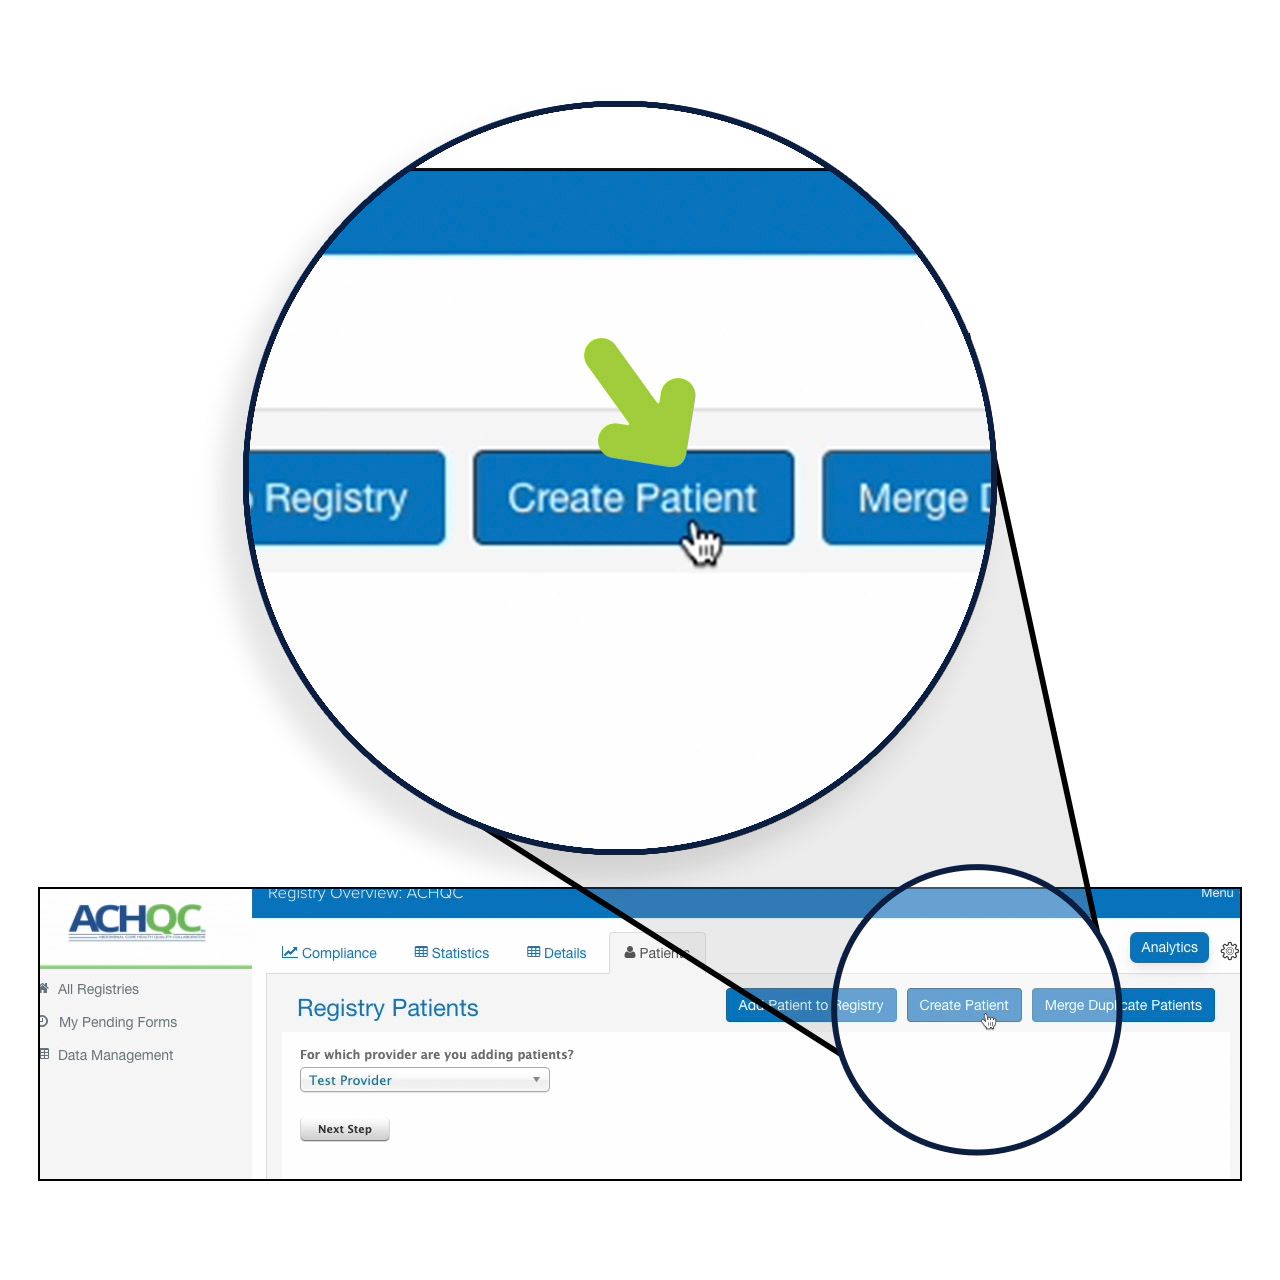
STEP 2: Click “Create Patient” in the top right corner
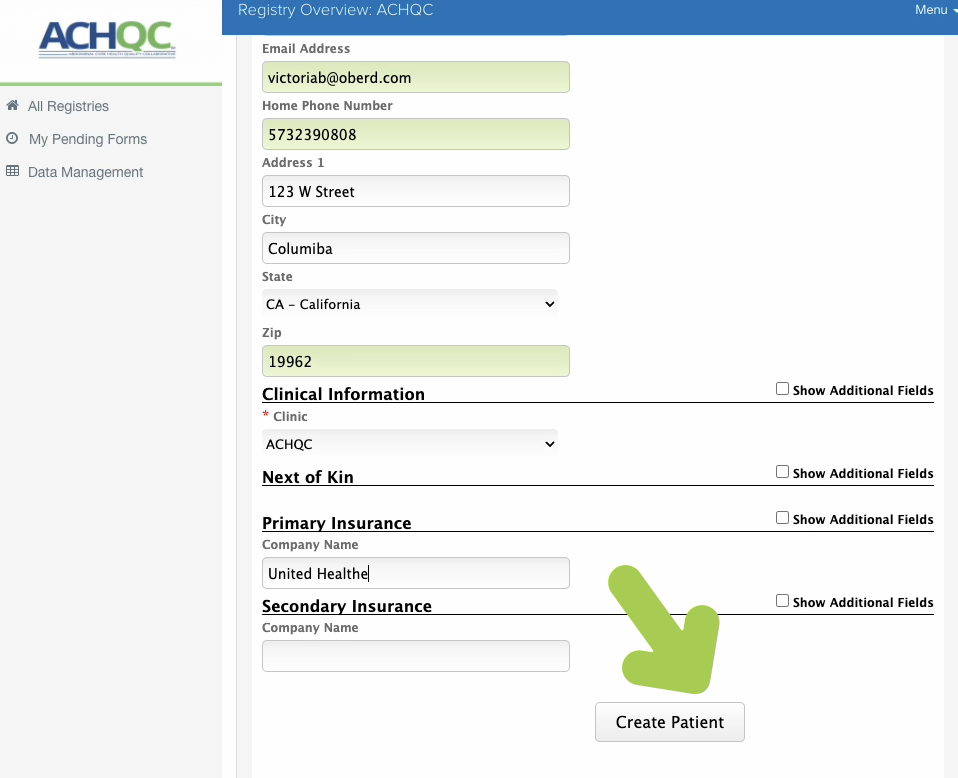
STEP 3: Enter Patient Demographics and click “Create Patient”
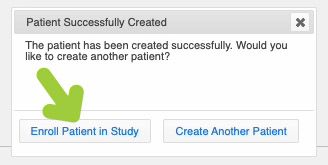
STEP 4: Click “Enroll Patient into Study”
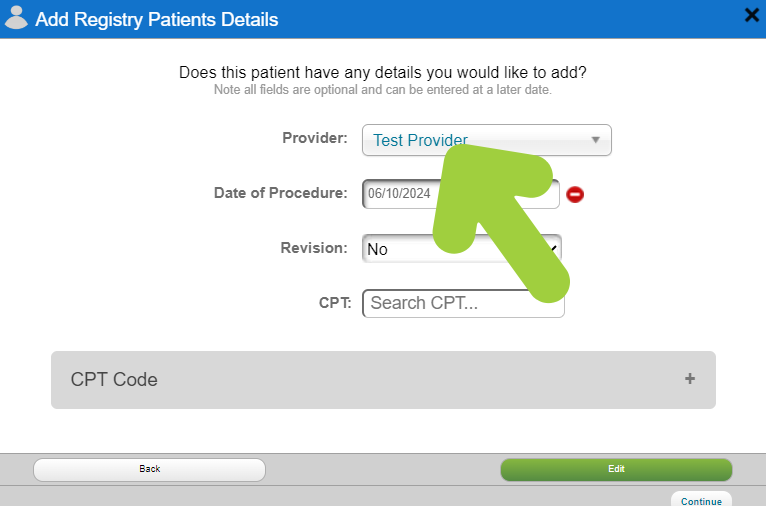
STEP 5: Select Provider Name

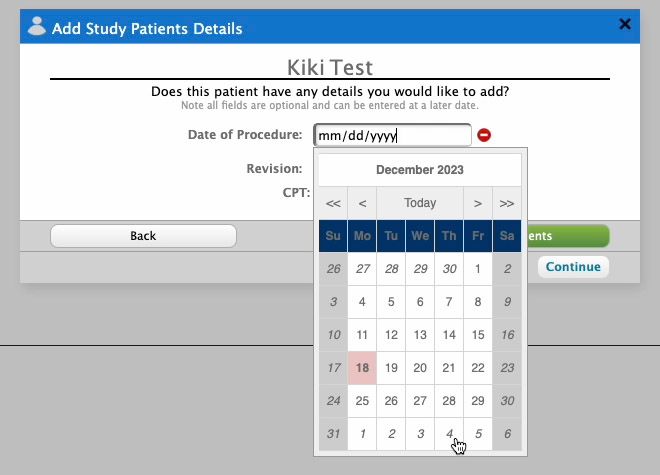
STEP 6: Choose the date of the procedure
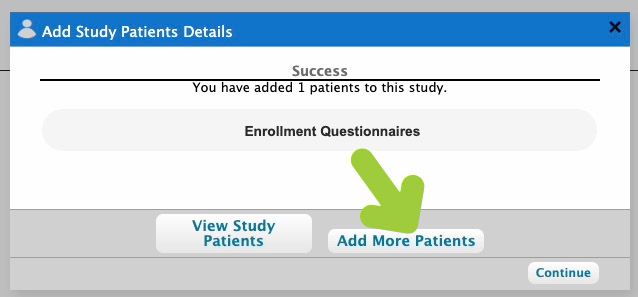
STEP 7: Click “Add Patients”
Provider
Locating the Patient List through ACHQC button
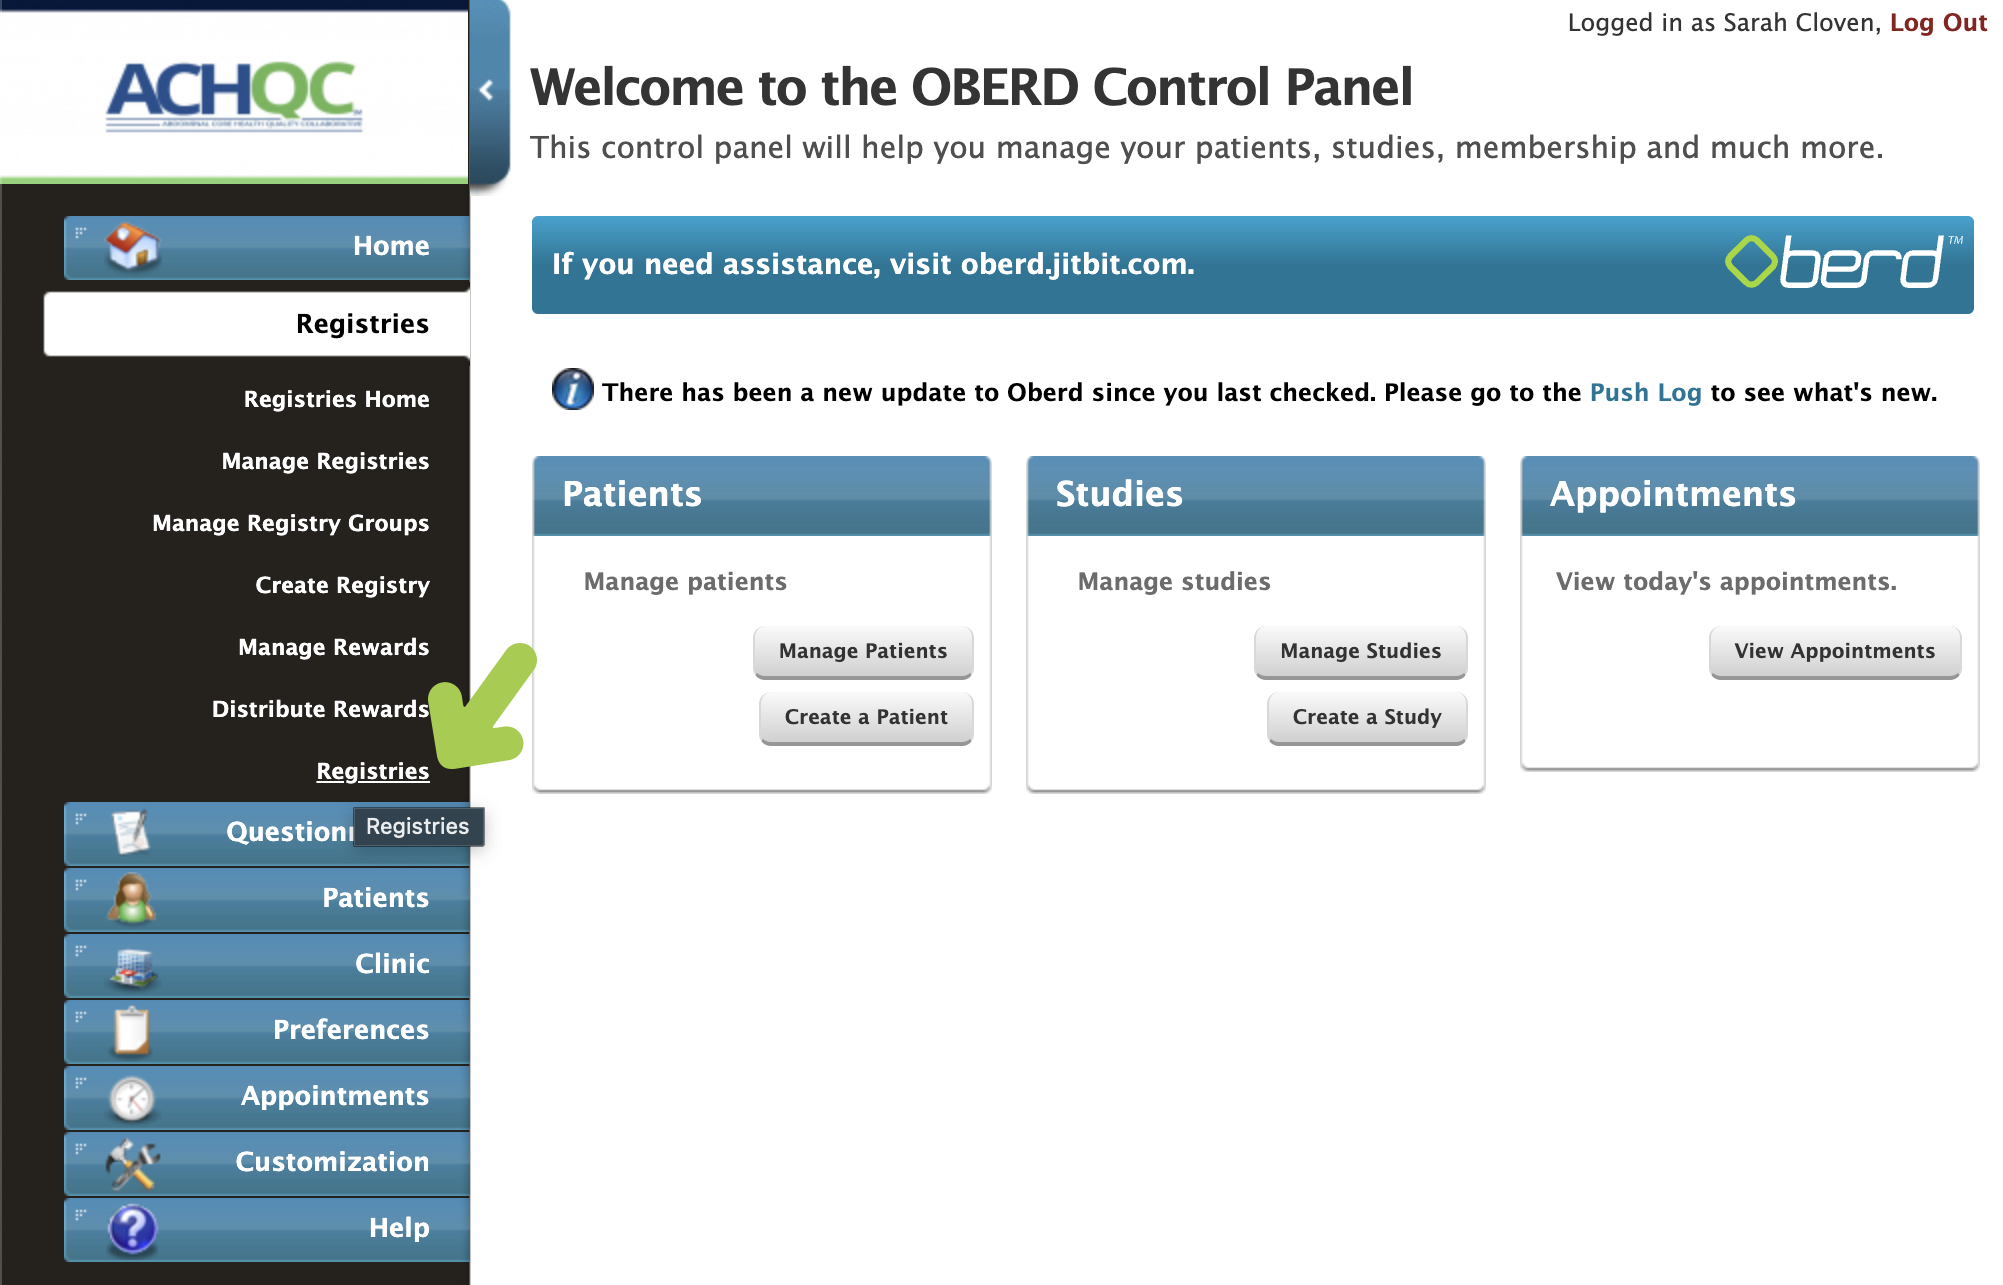
STEP 1: Go to Registries tab on the left under home and at the bottom click ‘Registries’
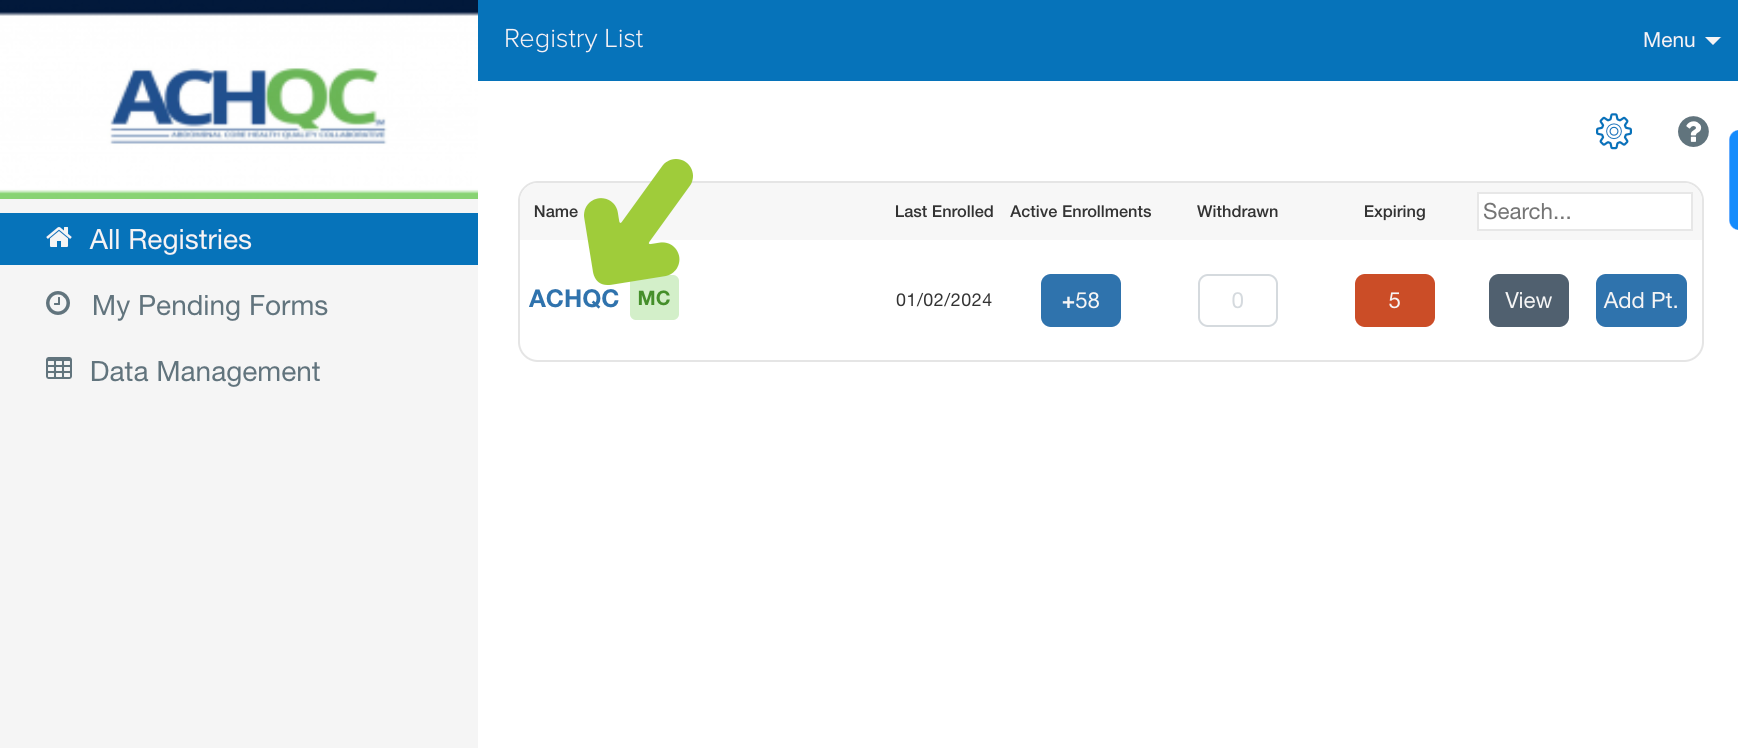
STEP 2: Click on “All Registries” on the left panel.

STEP 3: Click on “ACHQC” under Names
STEP 4: Click on the “Patients” Tab

Provider
View Pending Forms
STEP 1: Click “Registries” in the menu on the left.
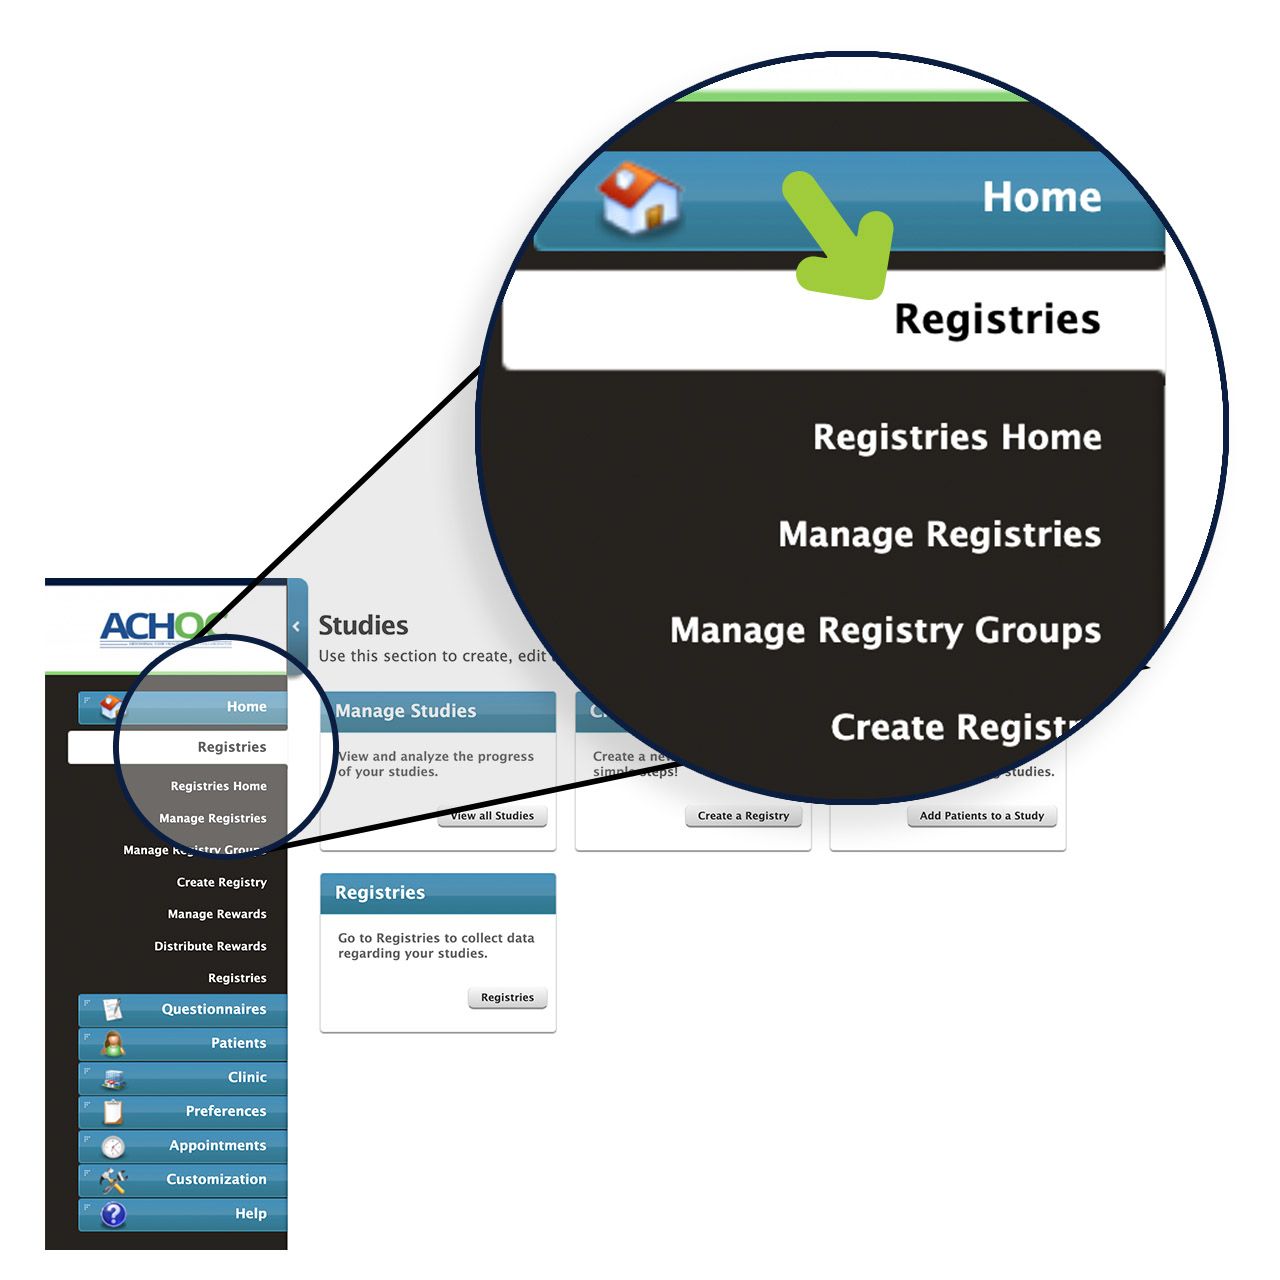
STEP 2: Click “Registries Home” in the dropdown menu. You should be taken to a screen with 4 options.
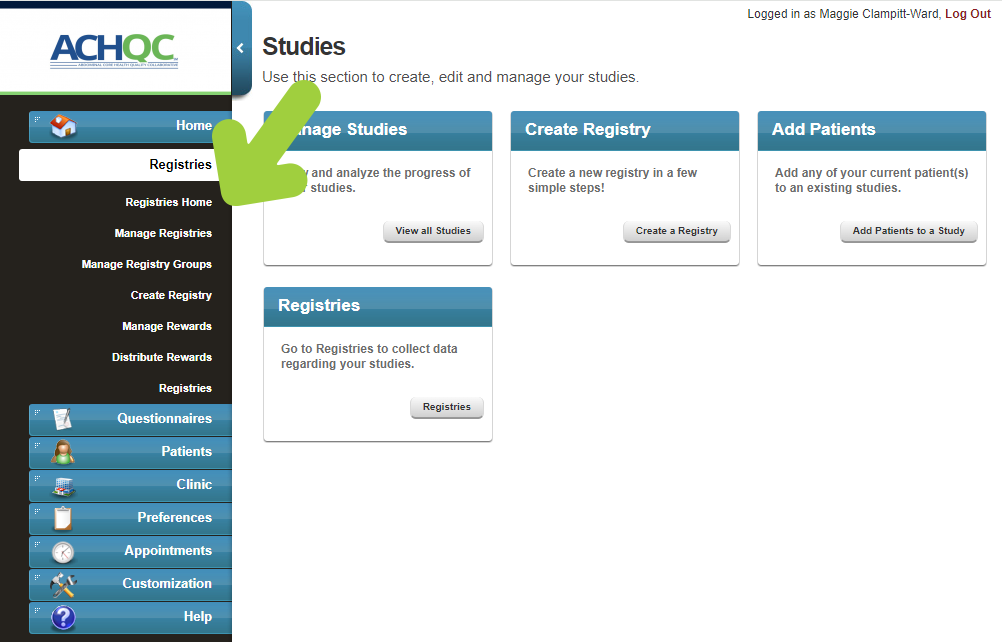
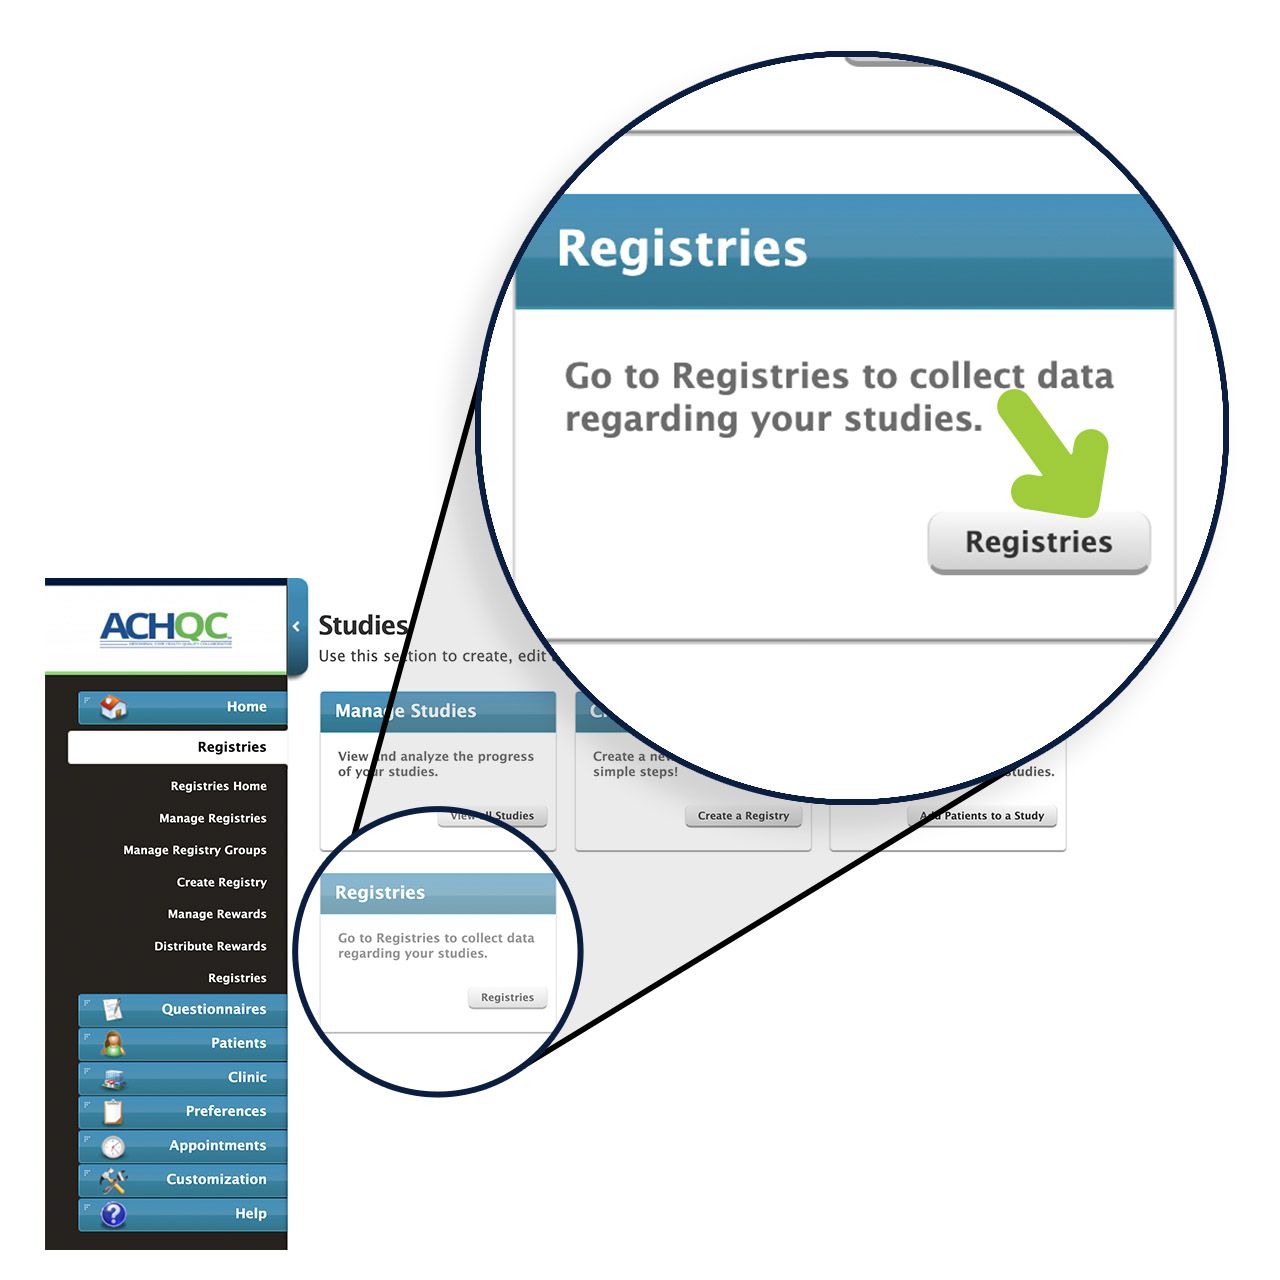
STEP 3: In the box labeled “Registries”, click the button labeled “Registries”. This will show you all your available registries.
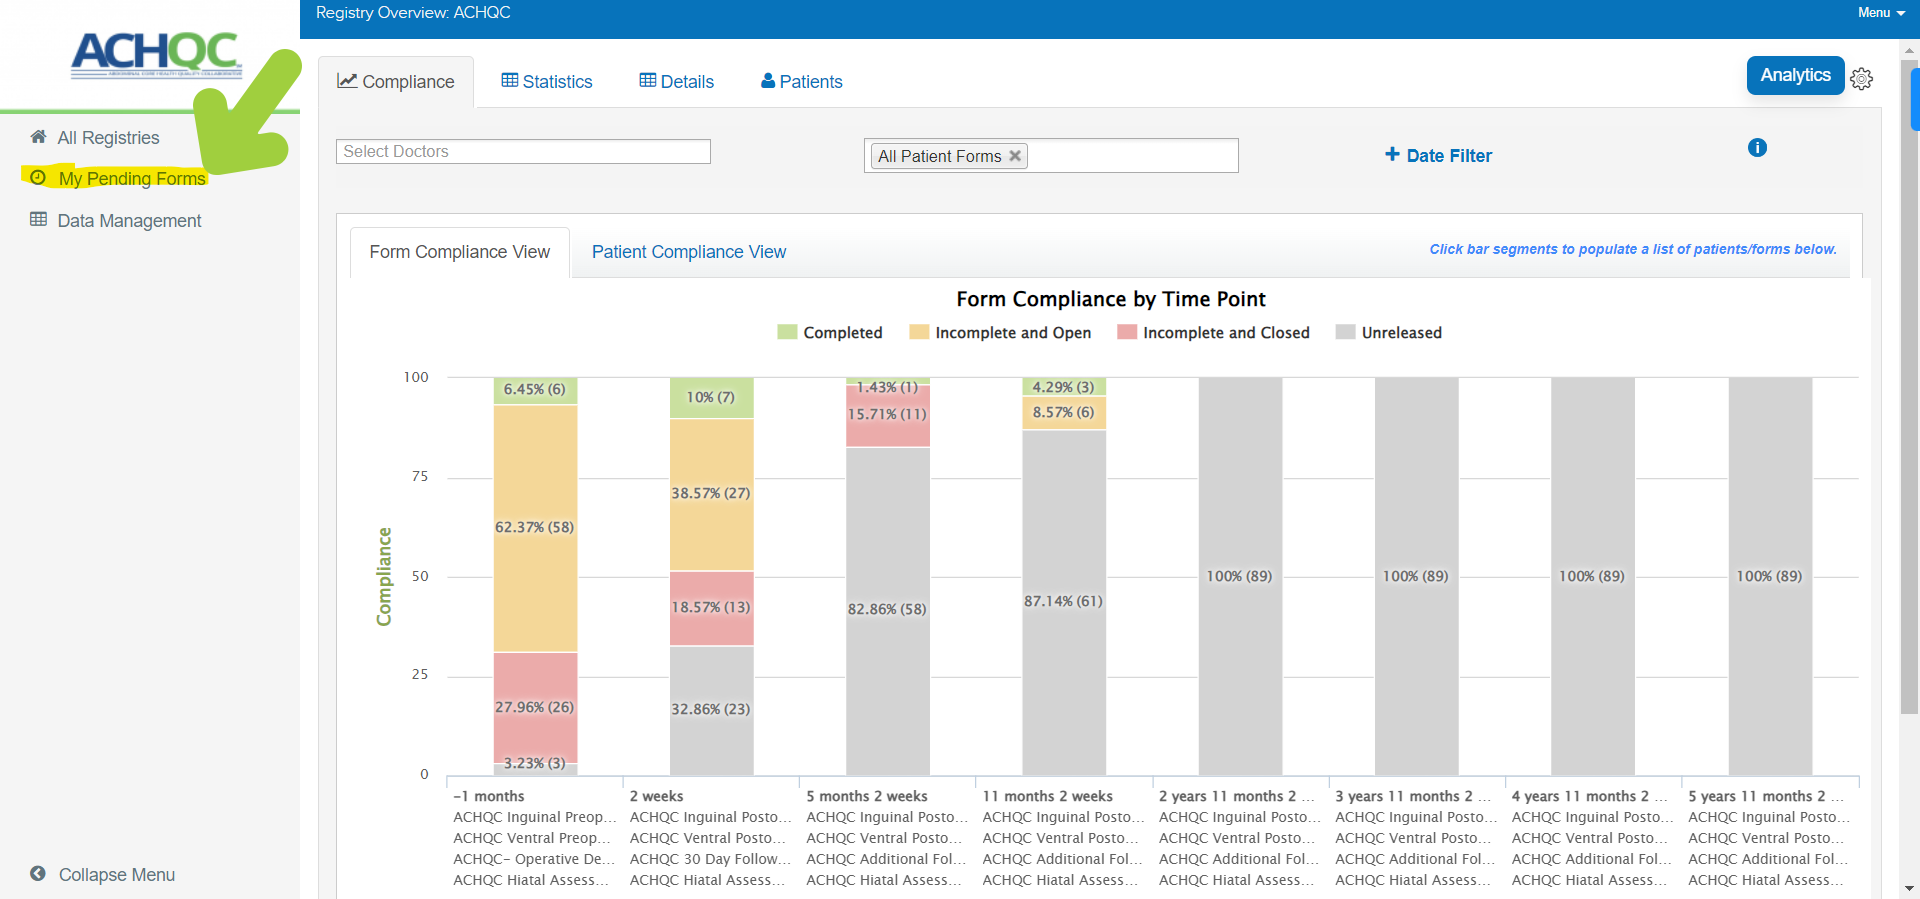
STEP 4: In the menu on the left, select “My Pending Forms”. This will display all pending forms.
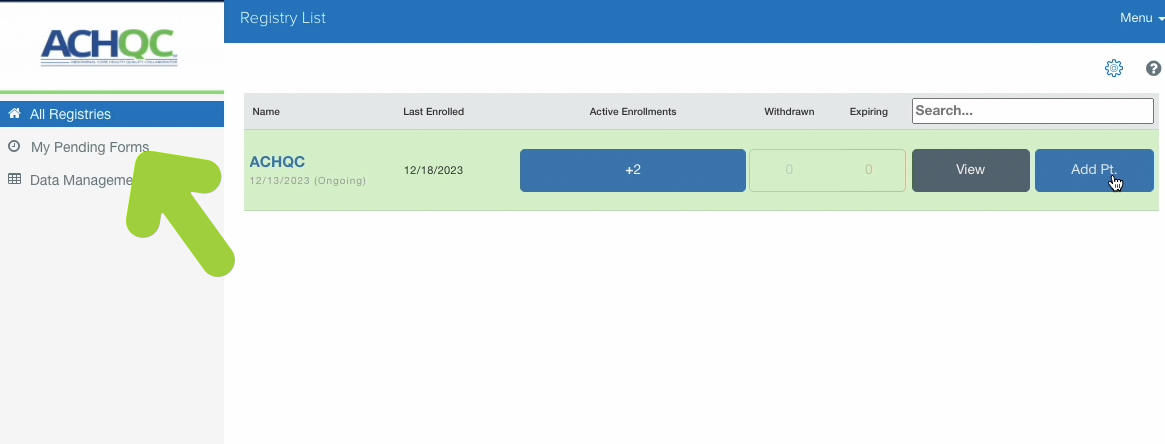
STEP 5: Once a patient has filled all forms, their associated forms will be removed from this list.
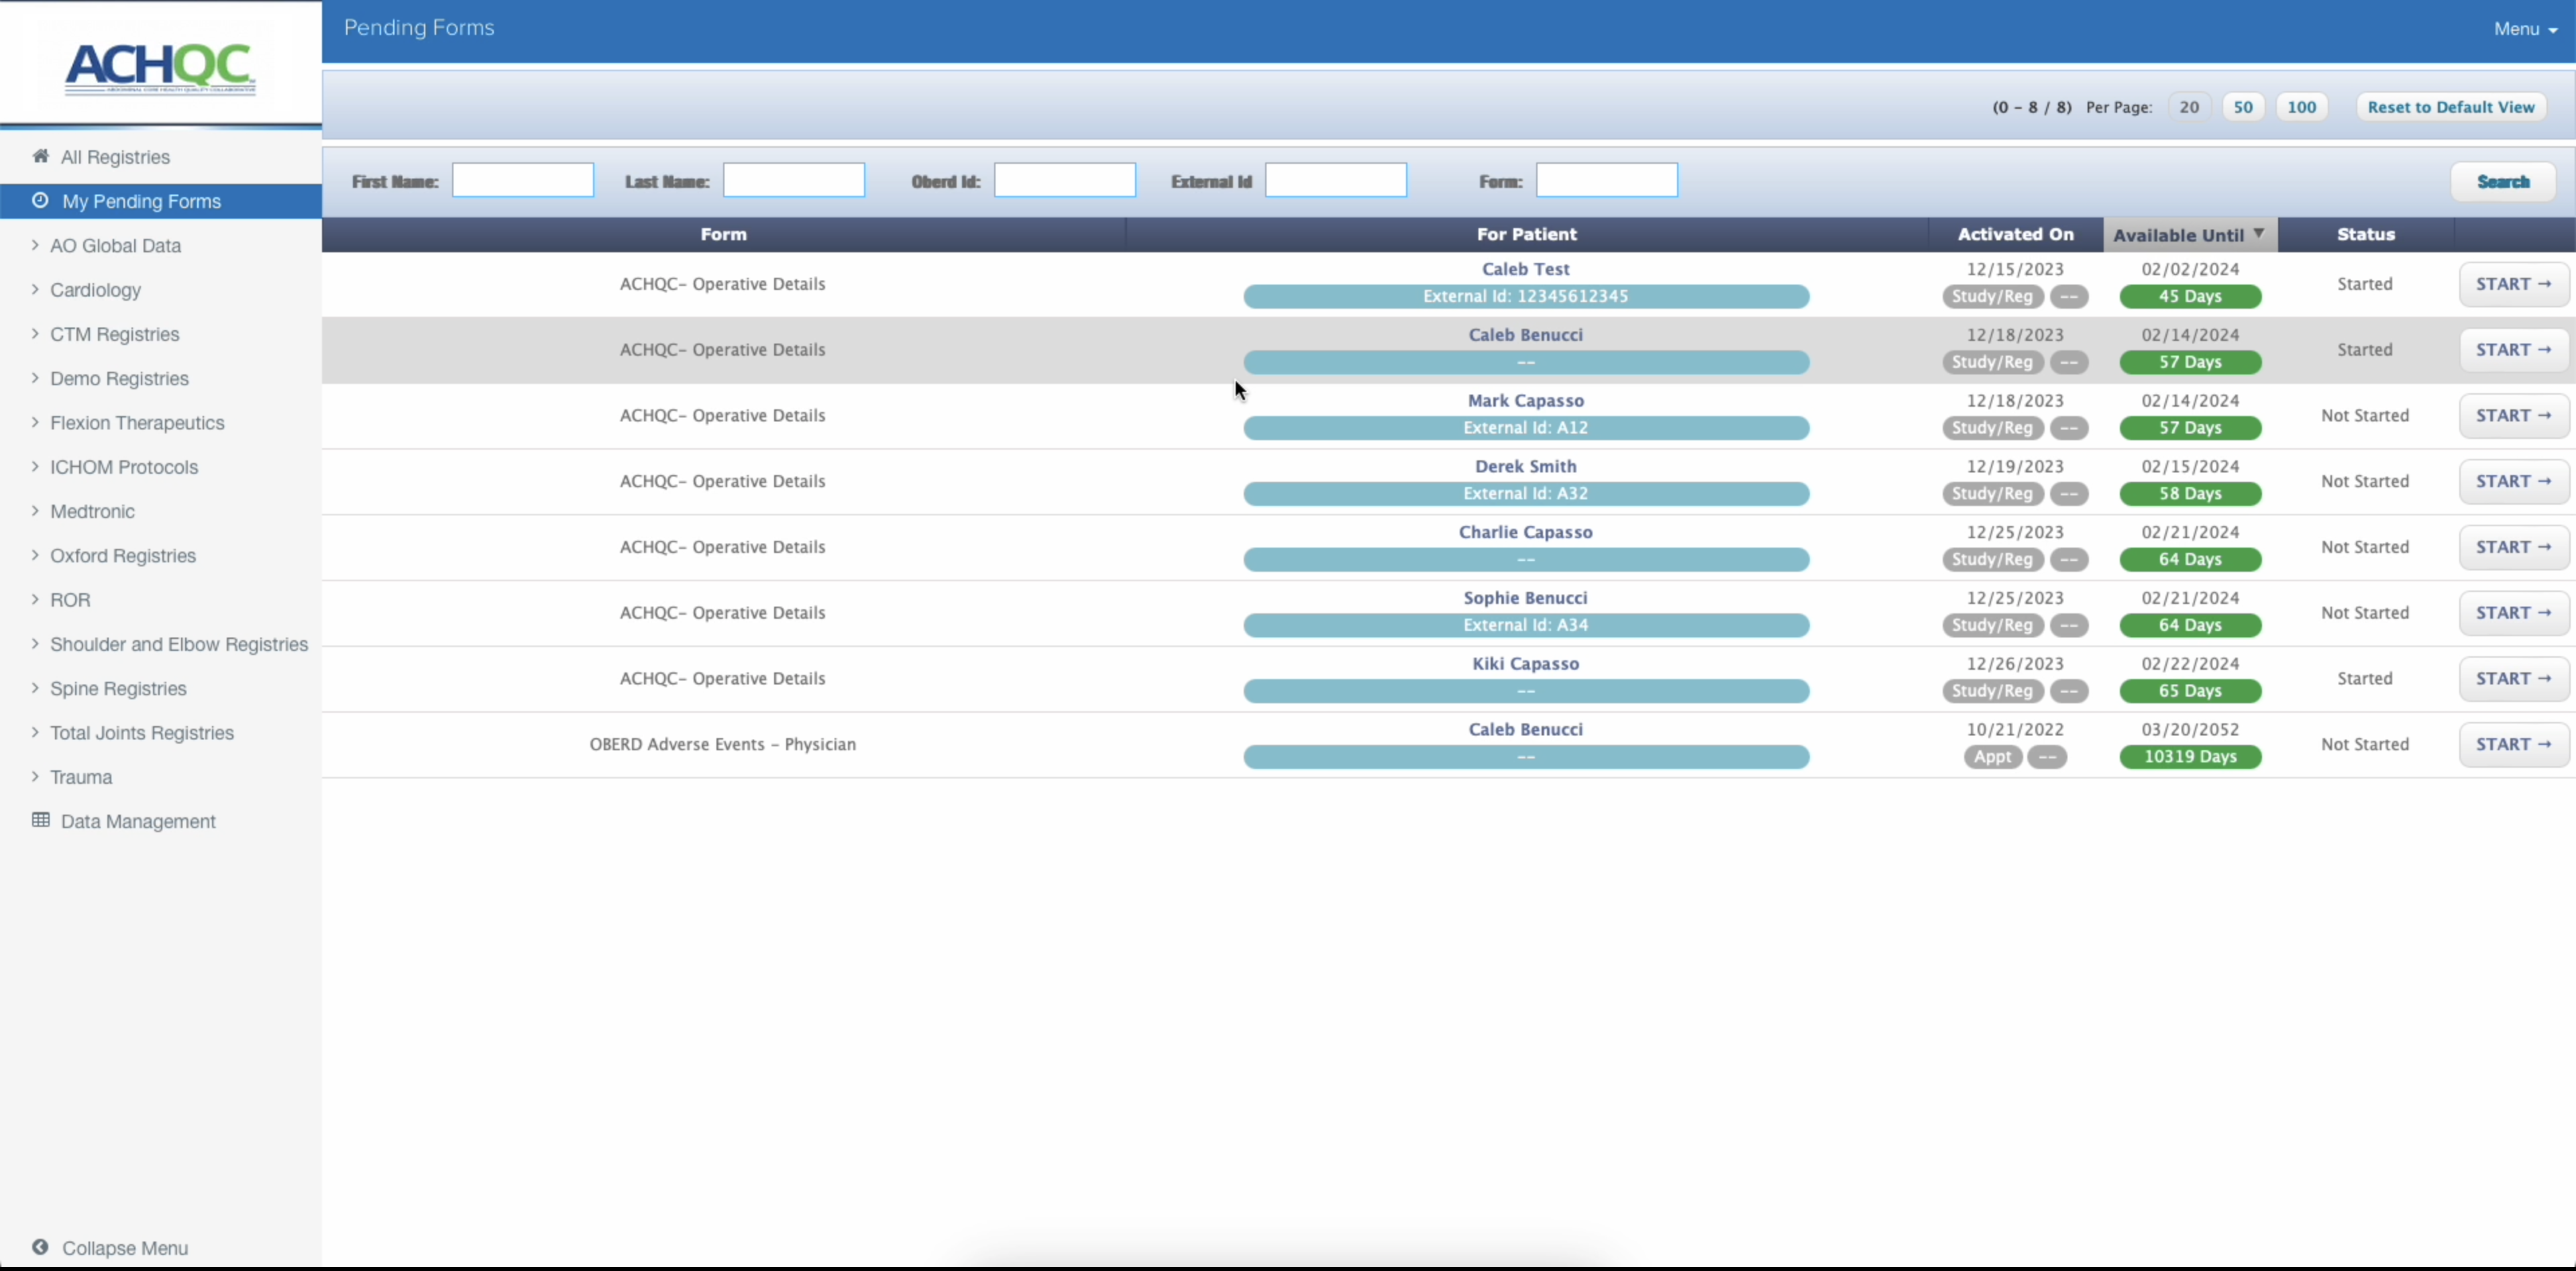
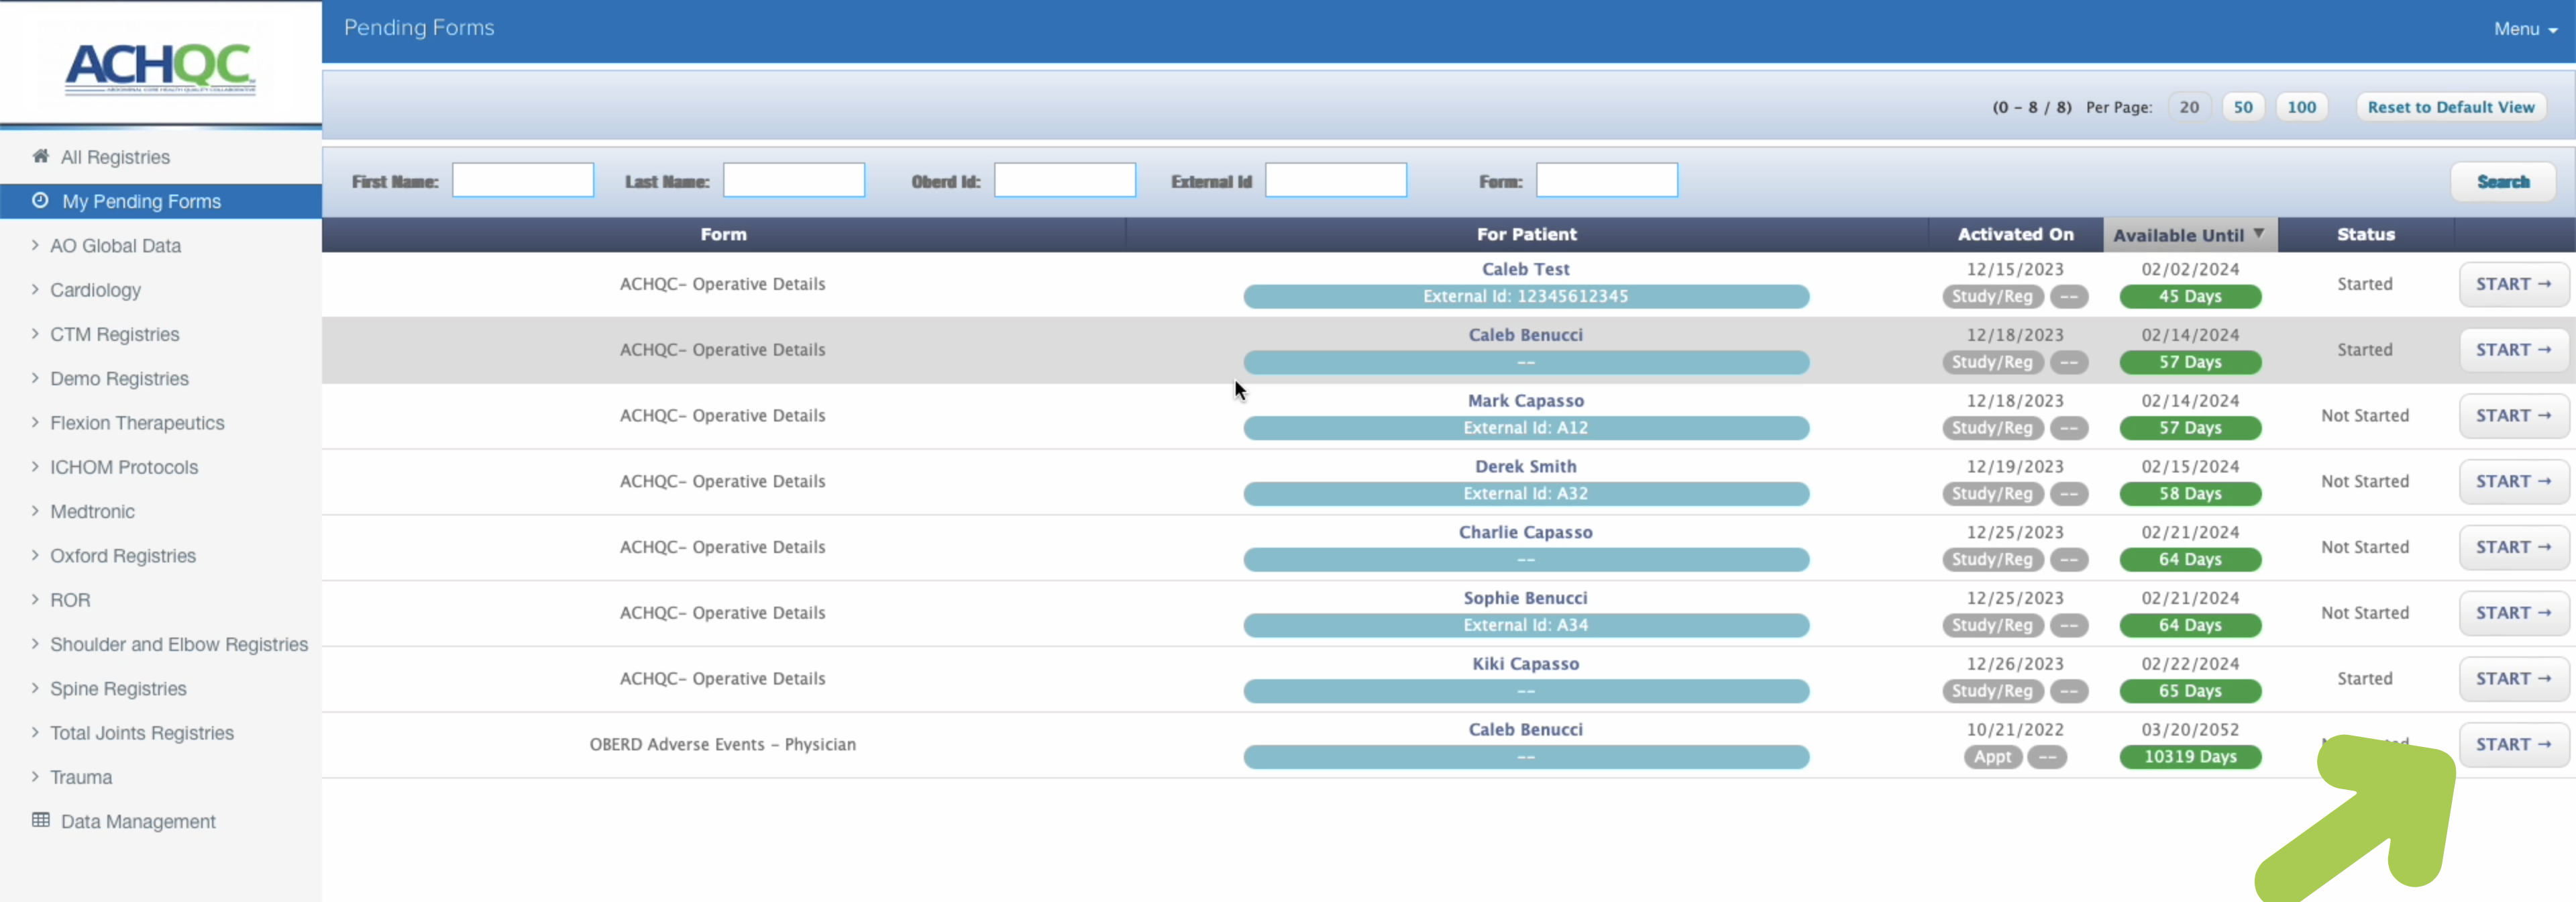
STEP 6: You can take action on these forms by selecting “Start” on the right hand side
Provider
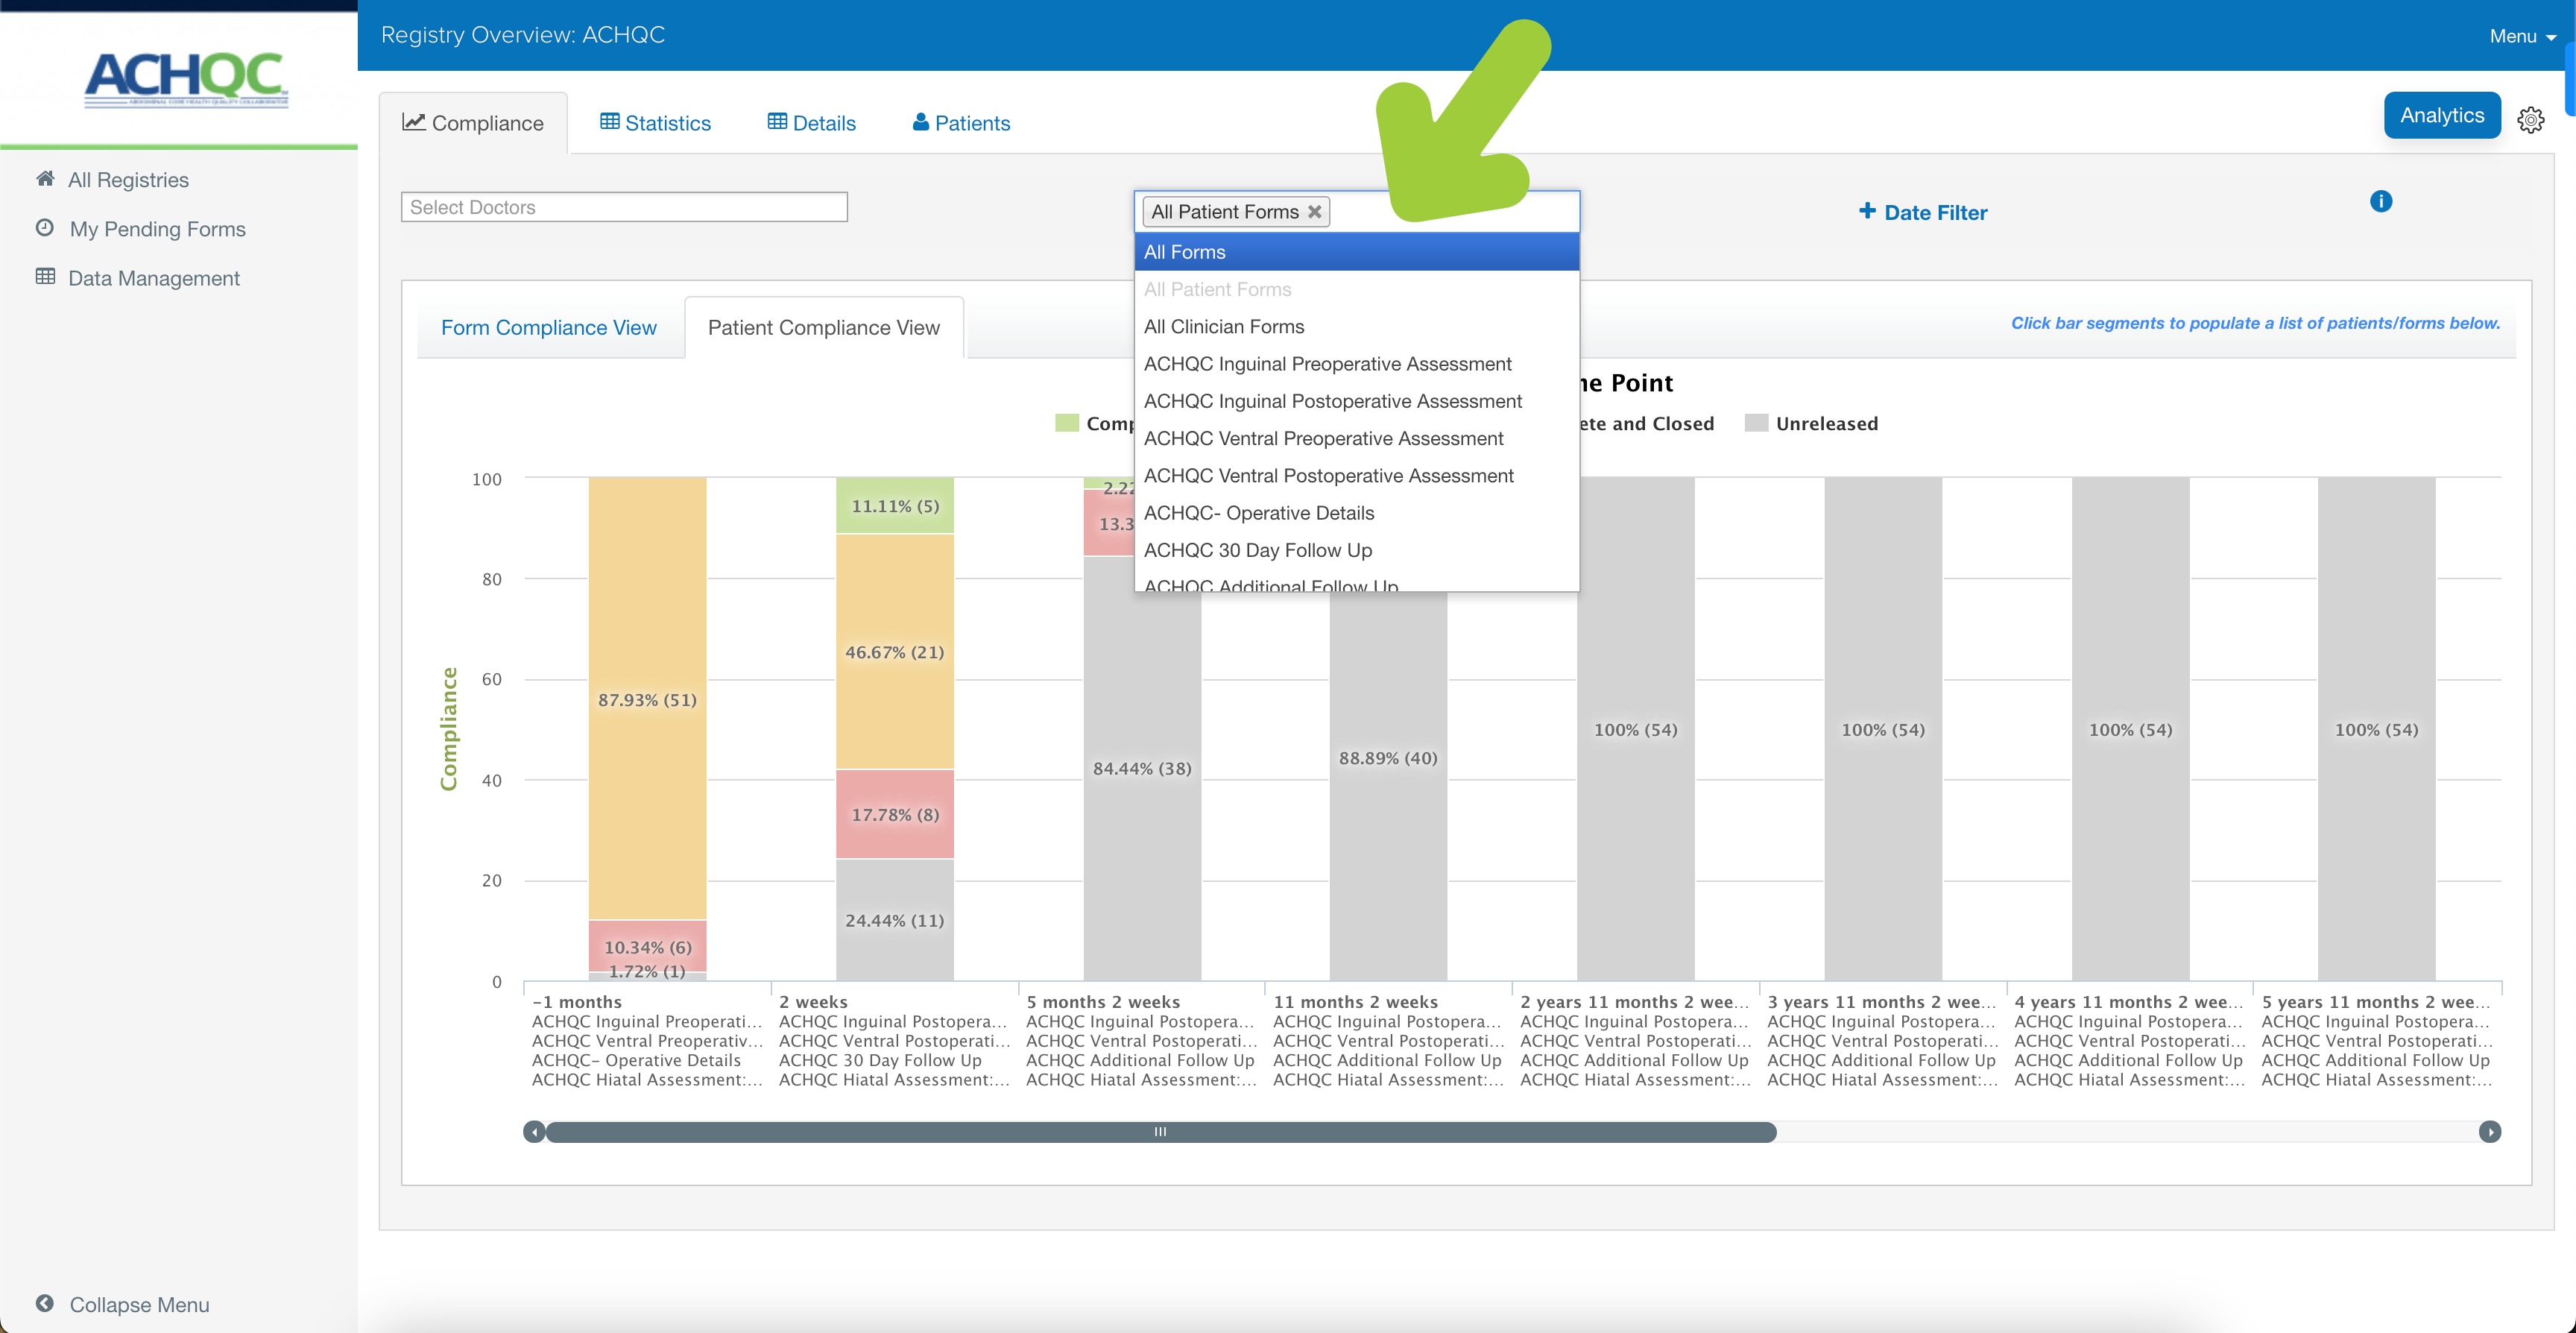
Locating Patient Compliance
STEP 1: Click “Registries”
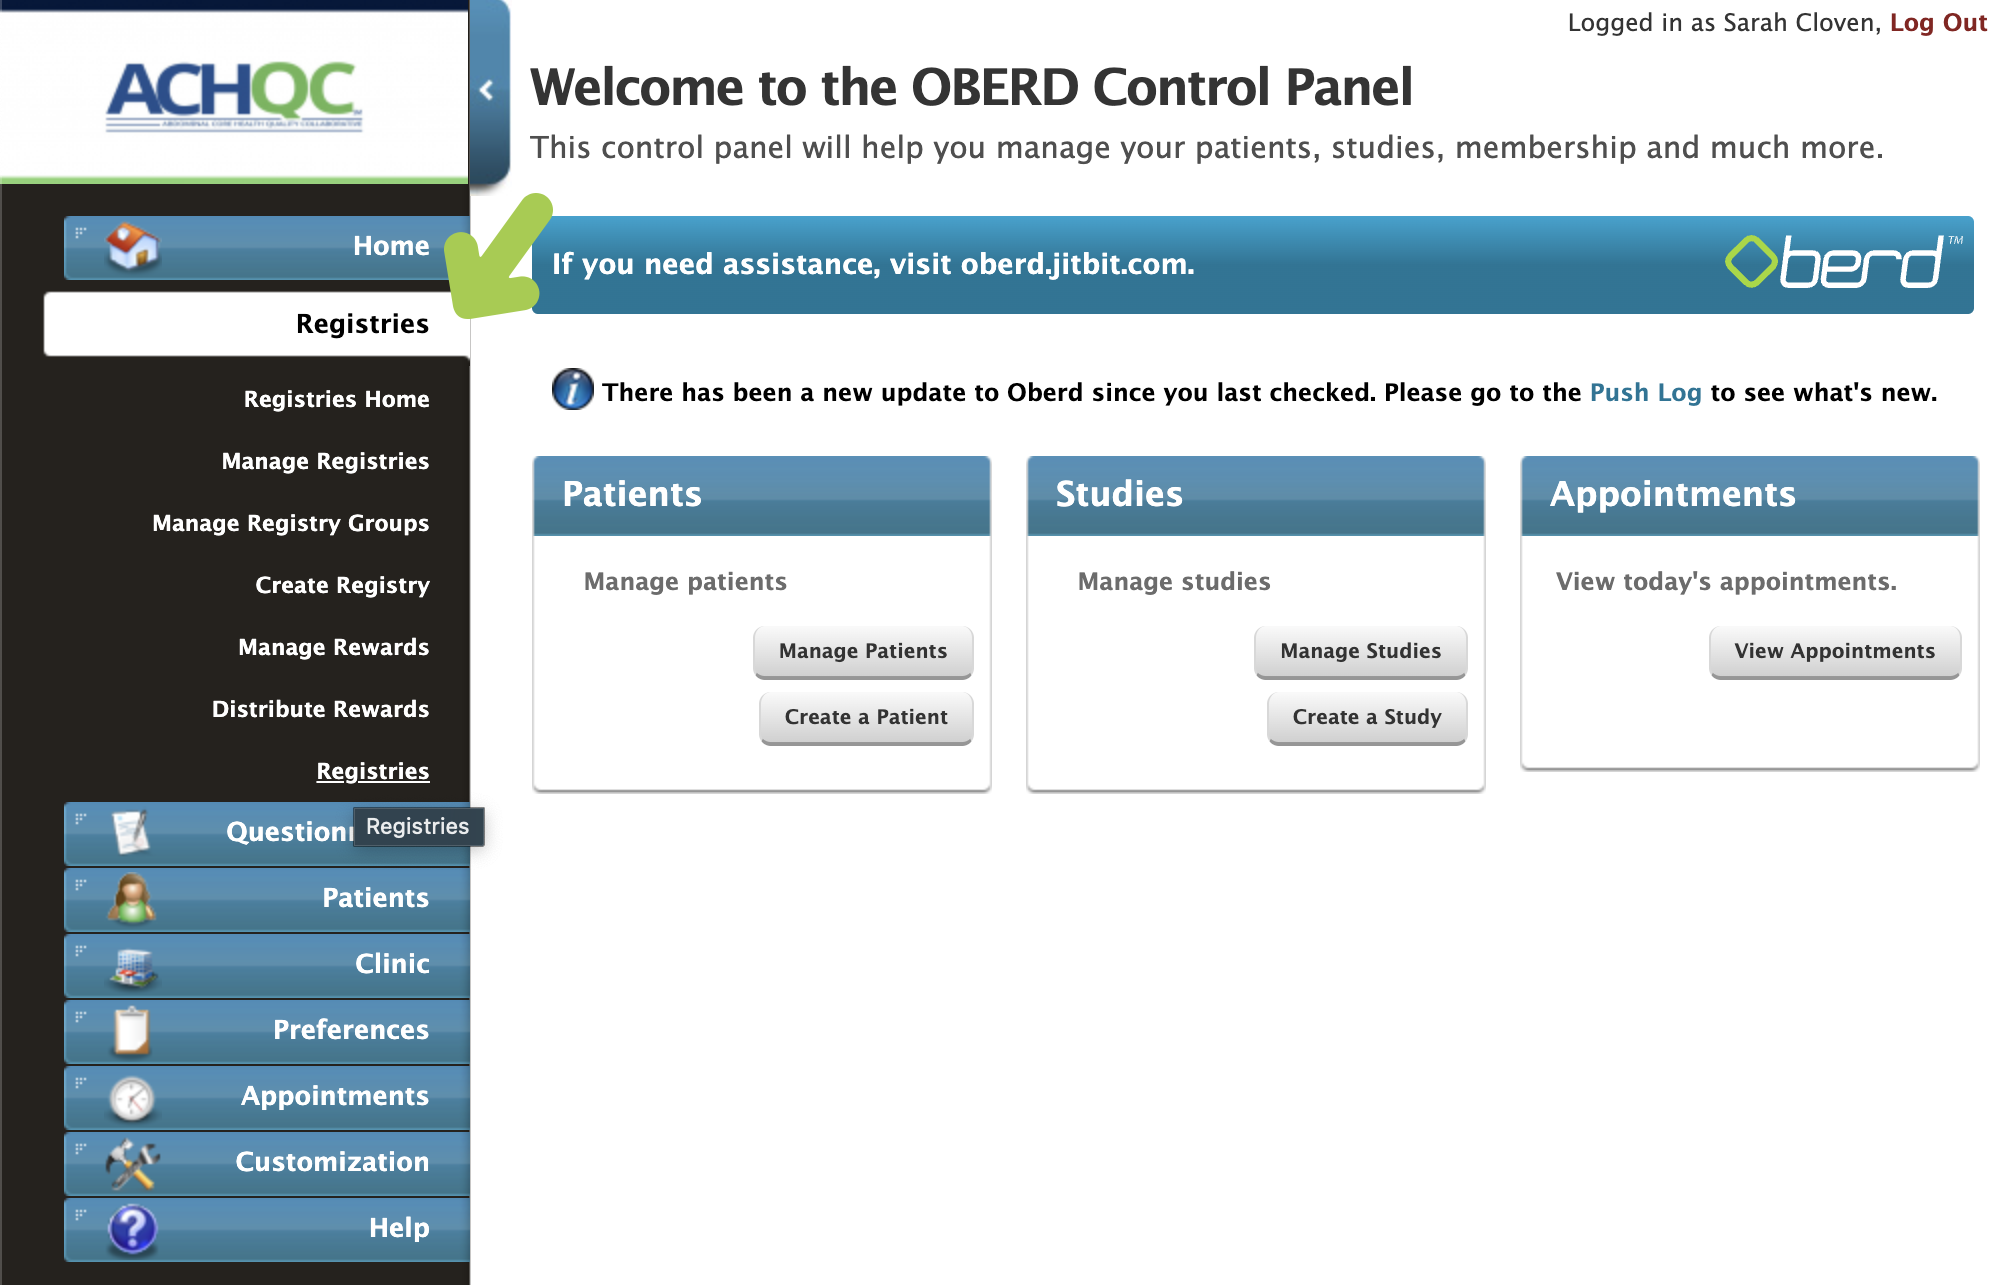
STEP 2: Click “Registries” again at bottom of the list

STEP 3: Click “ACHQC”

STEP 4: Click “Patient Compliance View”
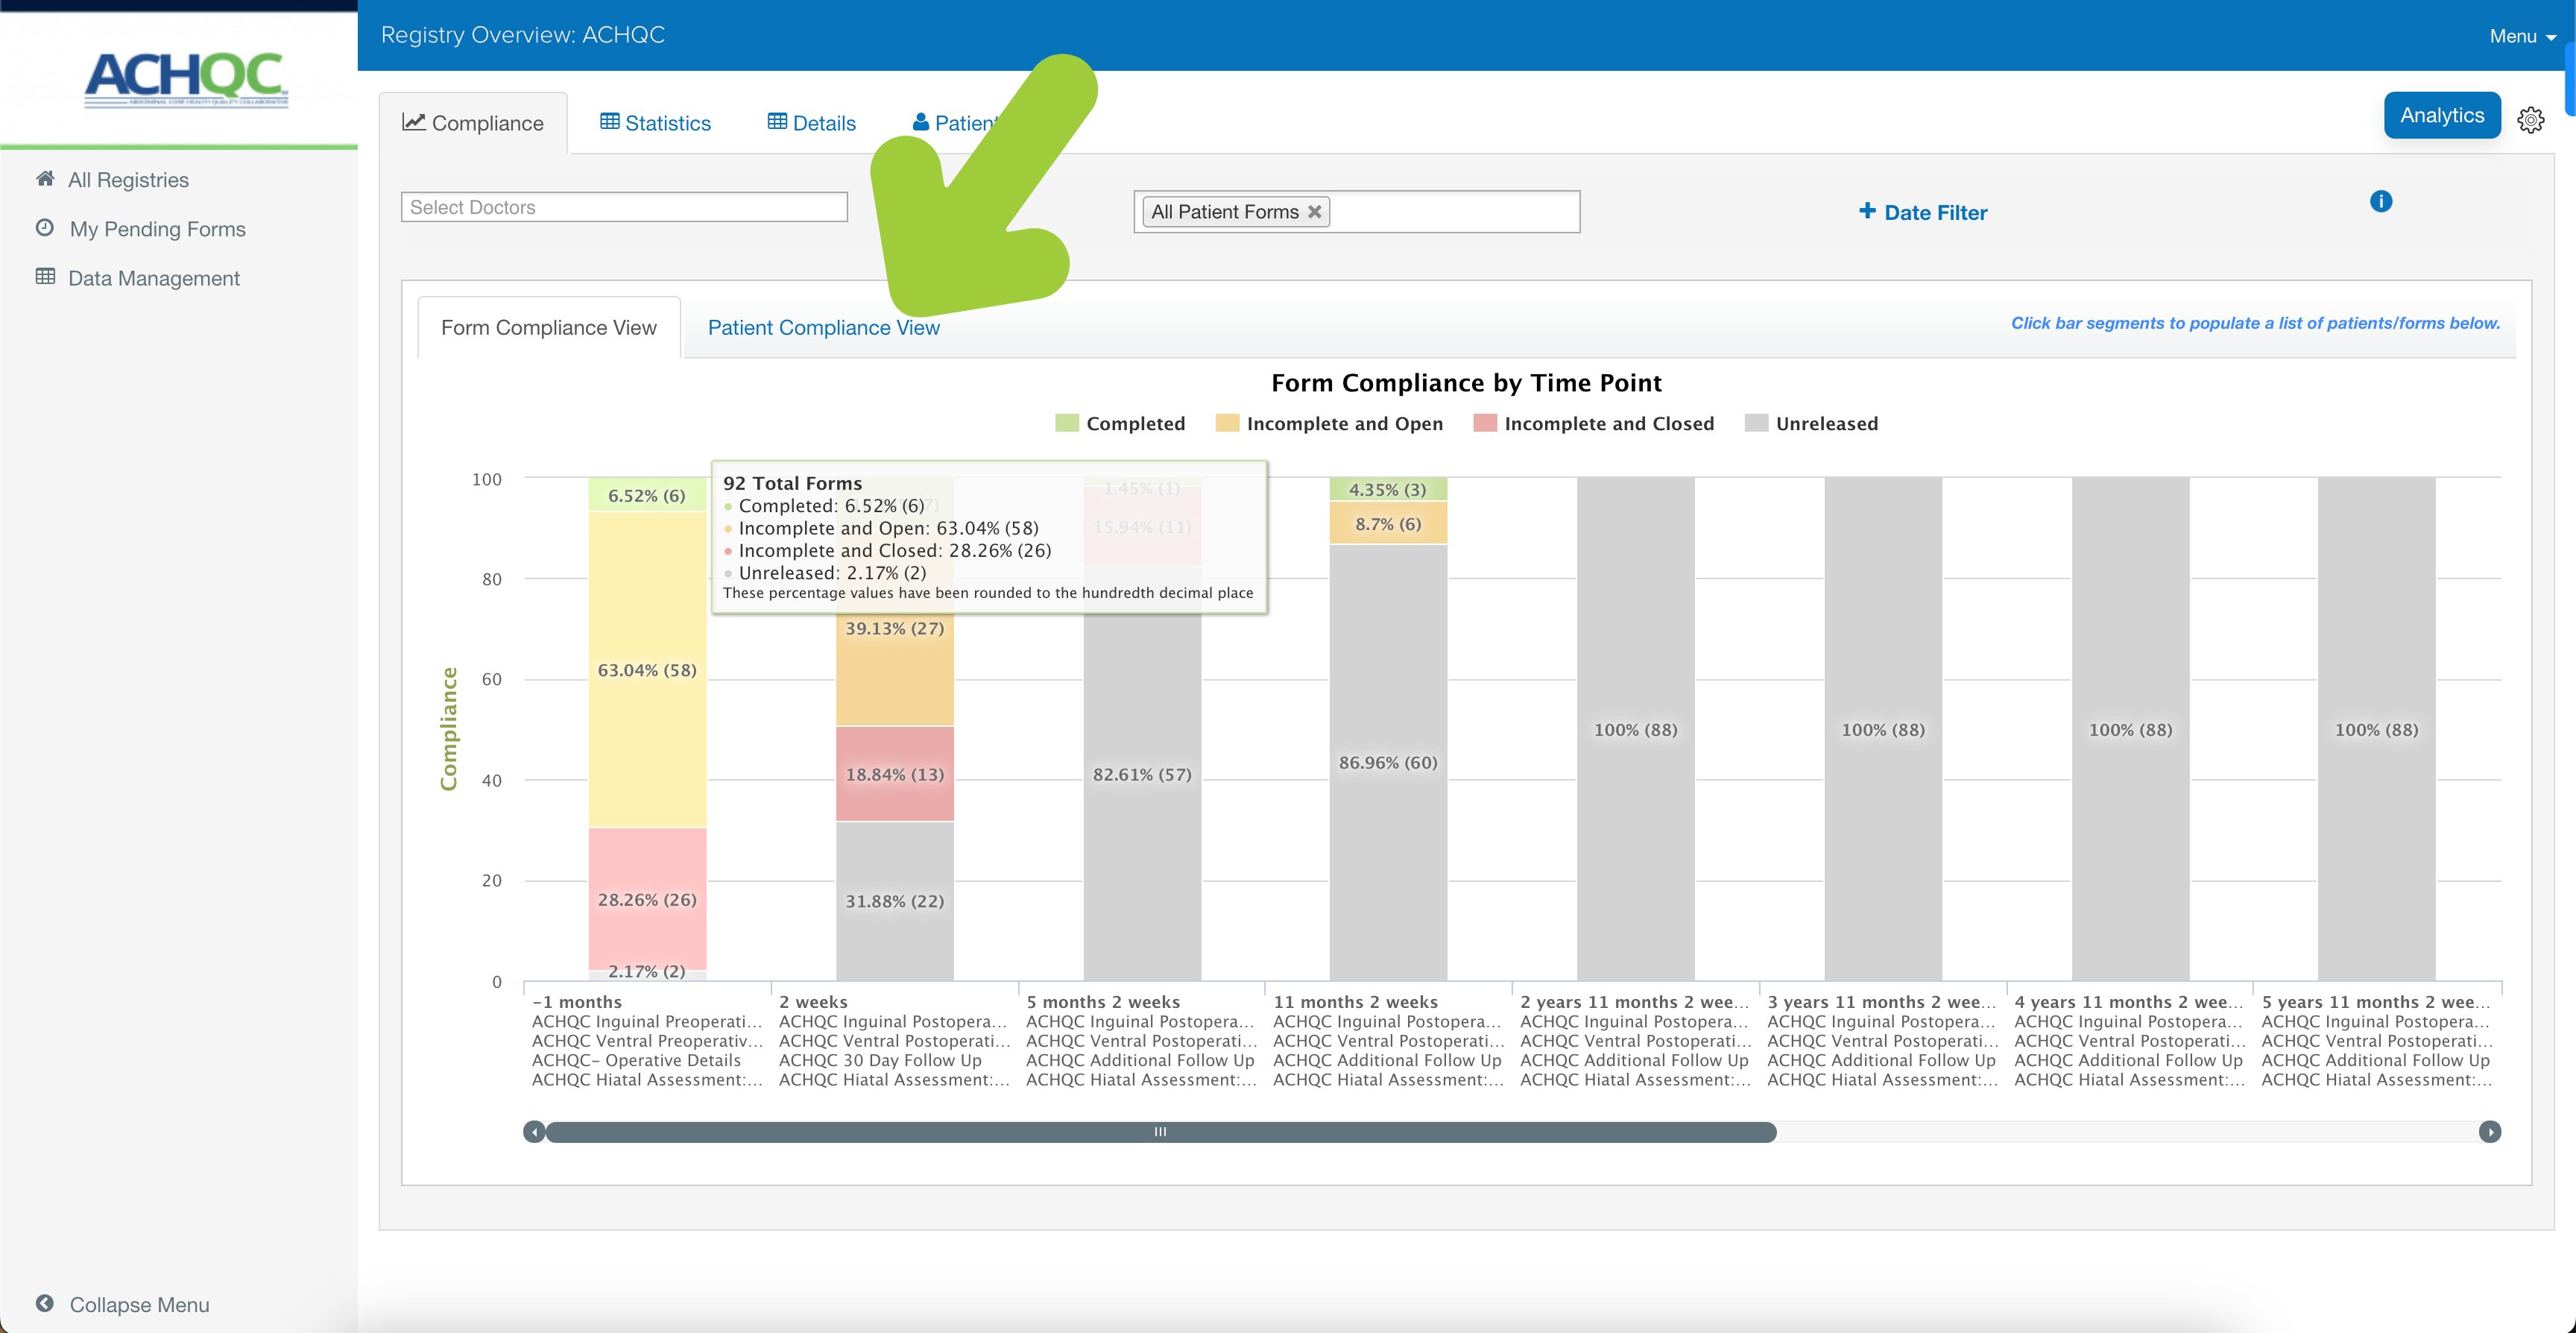
STEP 5: Click search bar that says “All Patient Forms” and select which forms you would like to see the compliance for.
Provider
Locating the Registry Dashboard
STEP 1: Click “Registries”

STEP 2: Click “Registries” again at bottom of the list

STEP 3: You will be taken to your “registries dashboard”. Here you can see all registries you have access to, all pending forms, and your data management tools.

Provider
How to fill forms
STEP 1: Click on my pending forms in the registry page
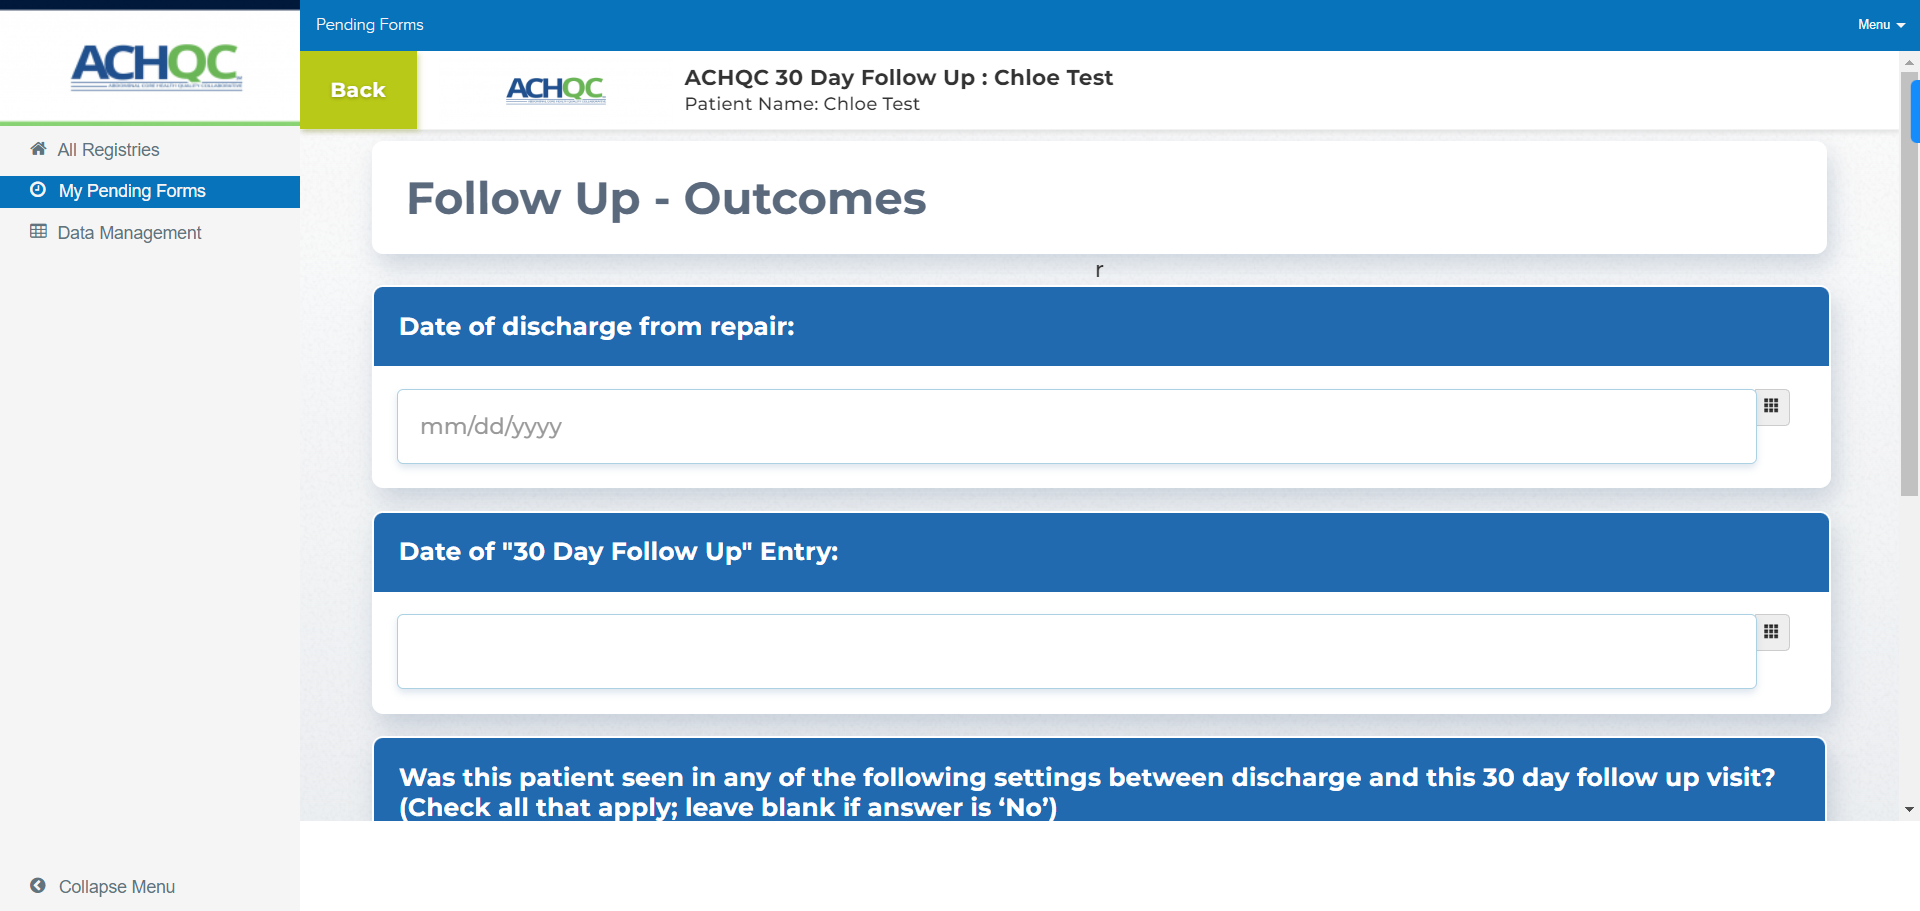
STEP 2: Click on the start button next to the form you want

STEP 3: Fill out the form
Abstractor:
Login
STEP 1: Go to URL https://www.oberd.com/achqcc
STEP 2: Click “Login”

STEP 3: Enter Username and Password into Prompted Boxes

STEP 4: Click “Login”
STEP 5: Enter Security Question Answer into Prompted Boxes

Abstractor:
Password Reset
STEP 1: Enter Username and Password

STEP 2: Click “Login”
STEP 3: If login is incorrect a red error box will pop up and indicate so.

STEP 4: Click “Forgot Password”

STEP 5: Enter Username and Email

STEP 6: Click “Submit” to receive reset link
STEP 7: Use link in email to reset password.
Abstractor:
Adding CPT codes
STEP 1: Go to the patients tab on the registries home page.
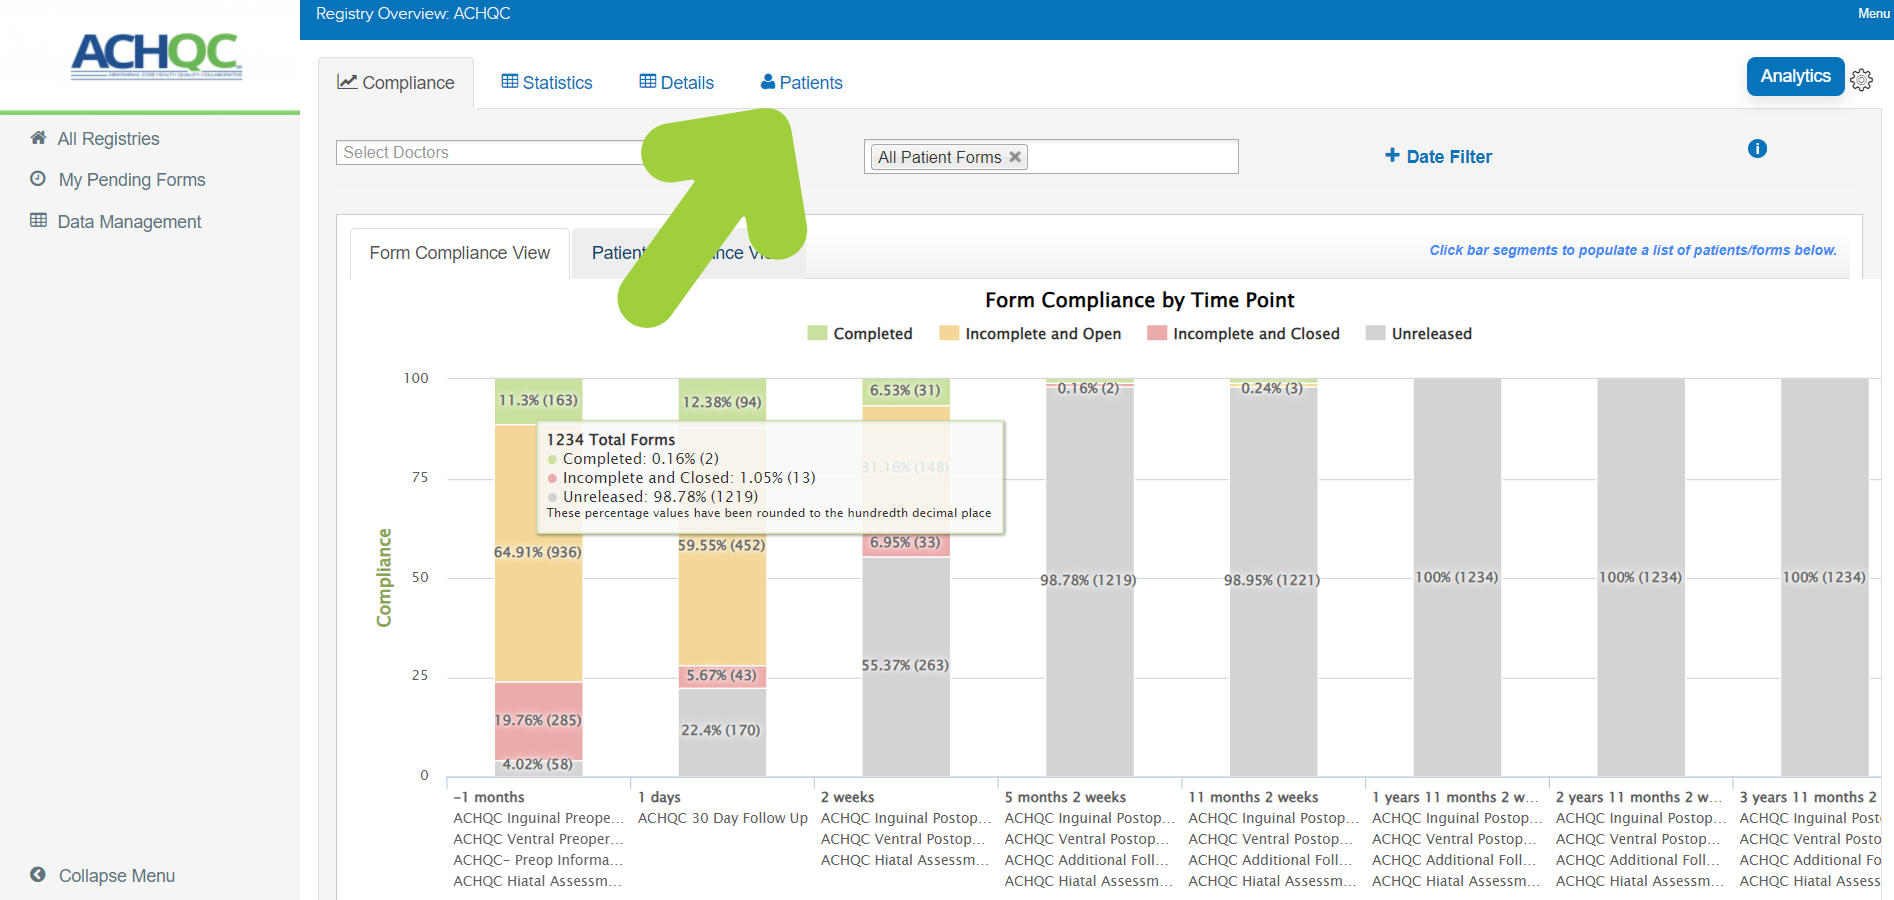
STEP 2: Click the revision button (guy with a magnifying glass) to the right of the patient
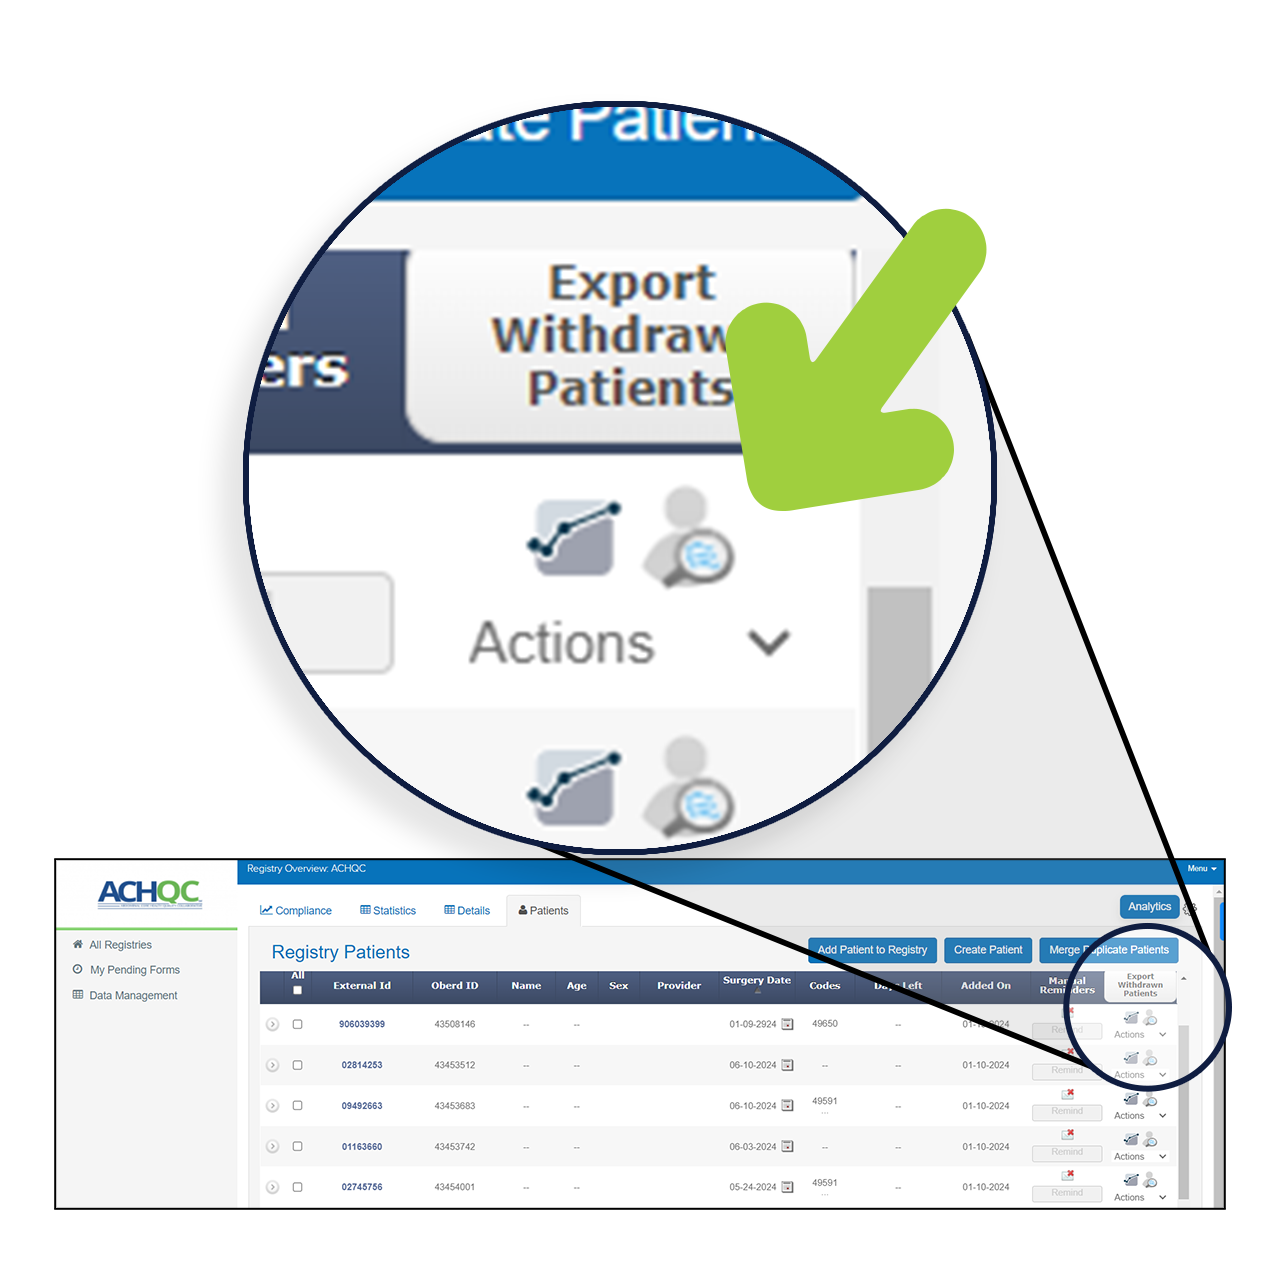
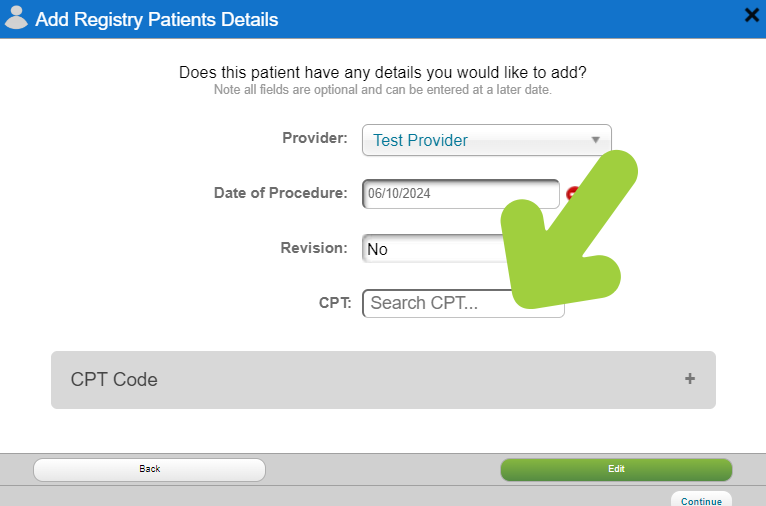
STEP 3: Type or choose a CPT code from the dropdown in the CPT code field then hit ‘Edit’
Abstractor:
Changing Providers
STEP 1: Go to the patients tab on the registries home page.

STEP 2: Click the revision button (guy with a magnifying glass) to the right of the patient

STEP 3: Choose a provider from the dropdown list then hit ‘Edit’
